i-Neighbour: Group Registration for Visitors (Contractor) [for Admin & Security Guard]
This article will guide users to register visiting contractors as a group.
A) How to activate group registration [By Admin and Security Guard]
Step 1 - [Admin Only] - Activate the group registration in the i-Neighbour Web
Neighbourhood > Setting > Visitor Setting > Rules > Edit > Enable “Required Group Registration For Visitor”
Step 1 - [Admin Only] - Activate the group registration in the i-Neighbour Web
Neighbourhood > Setting > Visitor Setting > Rules > Edit > Enable “Required Group Registration For Visitor”
Step 2 - [Security Guard] - Click the Update button to Synchronize/update i-Vizit.
Security guard must press the update button in i-Vizit to load all new data and new settings which has been done by the admin : Homepage > Synchronize icon > Press update button > * Please ensure that the date and time is up to date.
B) How to Register/Check-in visitor (Group registration) using i-Vizit [By Security Guard]
Step 1 - Press “Walk In” > Select Drive-In or Walk in > Press “Next”
Step 1 - Press “Walk In” > Select Drive-In or Walk in > Press “Next”
For Drive-in - Please fill in Car Plate number
For Walk in - Please fill in ID/Driving license number
For Walk in - Please fill in ID/Driving license number
Step 2 - Resident Information
Select Purpose of visit > Select block/street > Select unit number > Select resident name
Select Purpose of visit > Select block/street > Select unit number > Select resident name
Step 3 [Optional] - Intercom to seek approval from unit/house owner
Press owner name > Choose App as “Phone” > Get approval > press “Proceed to Check-in”
Press owner name > Choose App as “Phone” > Get approval > press “Proceed to Check-in”
Step 4 - Visitor personal Information
(For example, a group of contractors come in with 2 person)
Snap OCR photo (1st person) > The system will automatically detect the name of the visitor, ID number and the visitor’s ID photo > select visitor pass > Press “Add more visitor” > Click “OK” to register the next visitor to allocate them under the same group > Repeat the steps for the rest of the visitors.
Once you have selected the visitor pass for the last visitors > Press “Check in” > Click “DONE” > All the visitor names will then appear under the “Checked-in visitor”.
(For 1 visitor only)
Snap OCR photo > The system will automatically detect the name of the visitor, ID number and visitor’s ID photo > select visitor pass > Press “Check in” > Click “DONE” > The name of the visitor will then appear under the “Checked-in visitor”.
C) How to Check-Out visitor (Group registration) using i-Vizit [By Security Guard]
Check-out all visitor in the same group
Step 1 - On the homepage, press “Check-in Visitor”
Check-out all visitor in the same group
Step 1 - On the homepage, press “Check-in Visitor”
Step 2 - Press “Check-out” icon
Step 3 - Tick/select all visitor name > Press “Check Out”
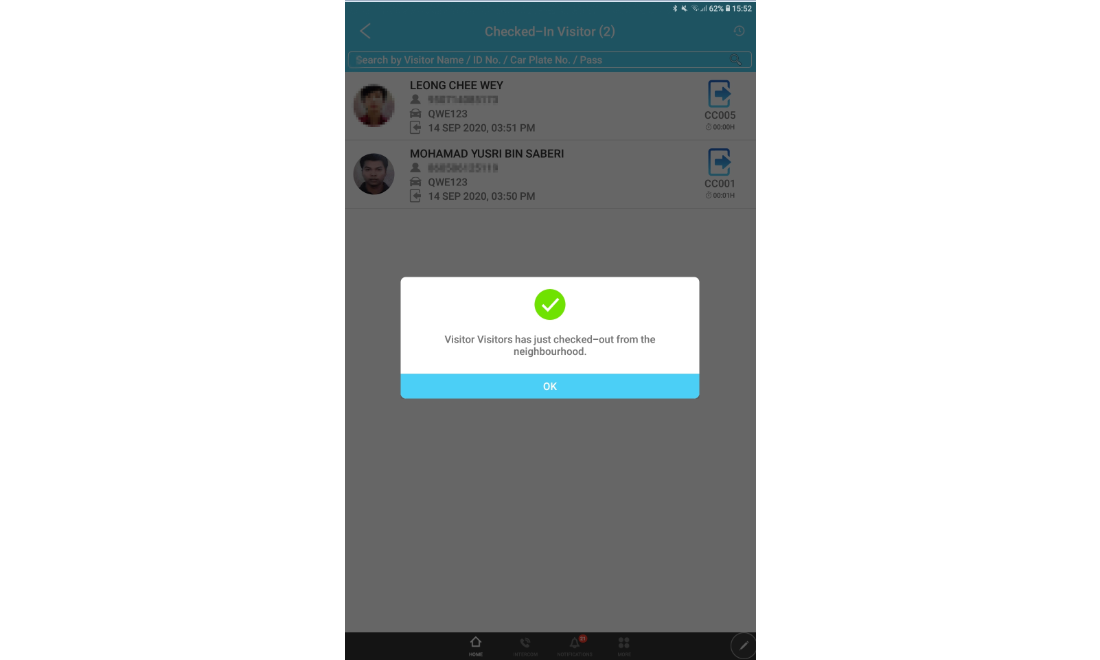
Step 4 - Click “Yes” to check out visitor
2. Check-out several visitor in the same group
Step 1 - On the homepage, press “Check-in Visitor”
Step 1 - On the homepage, press “Check-in Visitor”
Step 2 - Press “Check-out” icon
Step 3 - Tick/select several visitor name > Press “Check Out”
Step 3 - Tick/select several visitor name > Press “Check Out”
Step 4 - Click “Yes” to check out visitor
Note: If some of the screenshots or steps viewed here are different from the ones in the current system, this is due to our continuous effort to improve our system from time to time. Please notify us at info@i-neighbour.com, we will update it as soon as possible.
Related Articles
Visitor Registration - Making Visitor Pass Compulsory
This feature lets the admin select whether Visitor Pass should be compulsory or not. After enabling this option, the i-Vizit application (Guard House tablet) will prevent a security guard from pressing the check-in button without selecting a visitor ...i-Neighbour / i-Vizit - Blacklist Visitor
Blacklisting visitors can ensure that the same person will not be permitted into the premises when he or she re-attempts to re-enter your neighbourhood. However, please do ensure a reasonable excuse is submitted for this action. This is to prevent ...BLE-2 Deployment in Controlling Visitors' Car Entry & Exit for Gated and Guarded Community
TimeTec BLE-2 is a device meant to be an intermediary between i-Neighbour guard panel and a barrier gate controller, intending to automate and monitor the opening of the barrier gate upon registration of a visitor through the i-Neighbour Visitor ...QR Code for Invited Visitor - The Types (One Time or Multiple), Time Range and Validity for i-Neighbour
This article provides some questions and answers on determining whether the QR Code invitation can be used one time or multiple times and how to check the QR code validity. Question 1 - What are the differences between QR code for invited visitors ...Visitor Registration Process for Shared Guardhouse account
The registration for shared neighbourhood guard house account remained the same as the normal i-Vizit account. The only difference appears under the resident information, a neighbourhood selection has been added. To Register visitor Step 1 - Press ...