Access Combo and Anti Passback Settings for R2 & R2c
Introduction
Access Combo is an access control function that requires verifications to be done by a combination of different users. This function is suitable for highly-secured rooms or vaults that need more than senior-level employees from different departments to verify their identities before the door can be accessed. This tip will explain how to set this function in case your company would want to use it.
Steps and Procedures
To set up an access combo for two persons, each person must be assigned to a different group and a different combination
To set up a group and assign a user into a group.
Menu > Options > Access options > User acc opts > ”define user pin” example (101) > Belong to GRP “1”.
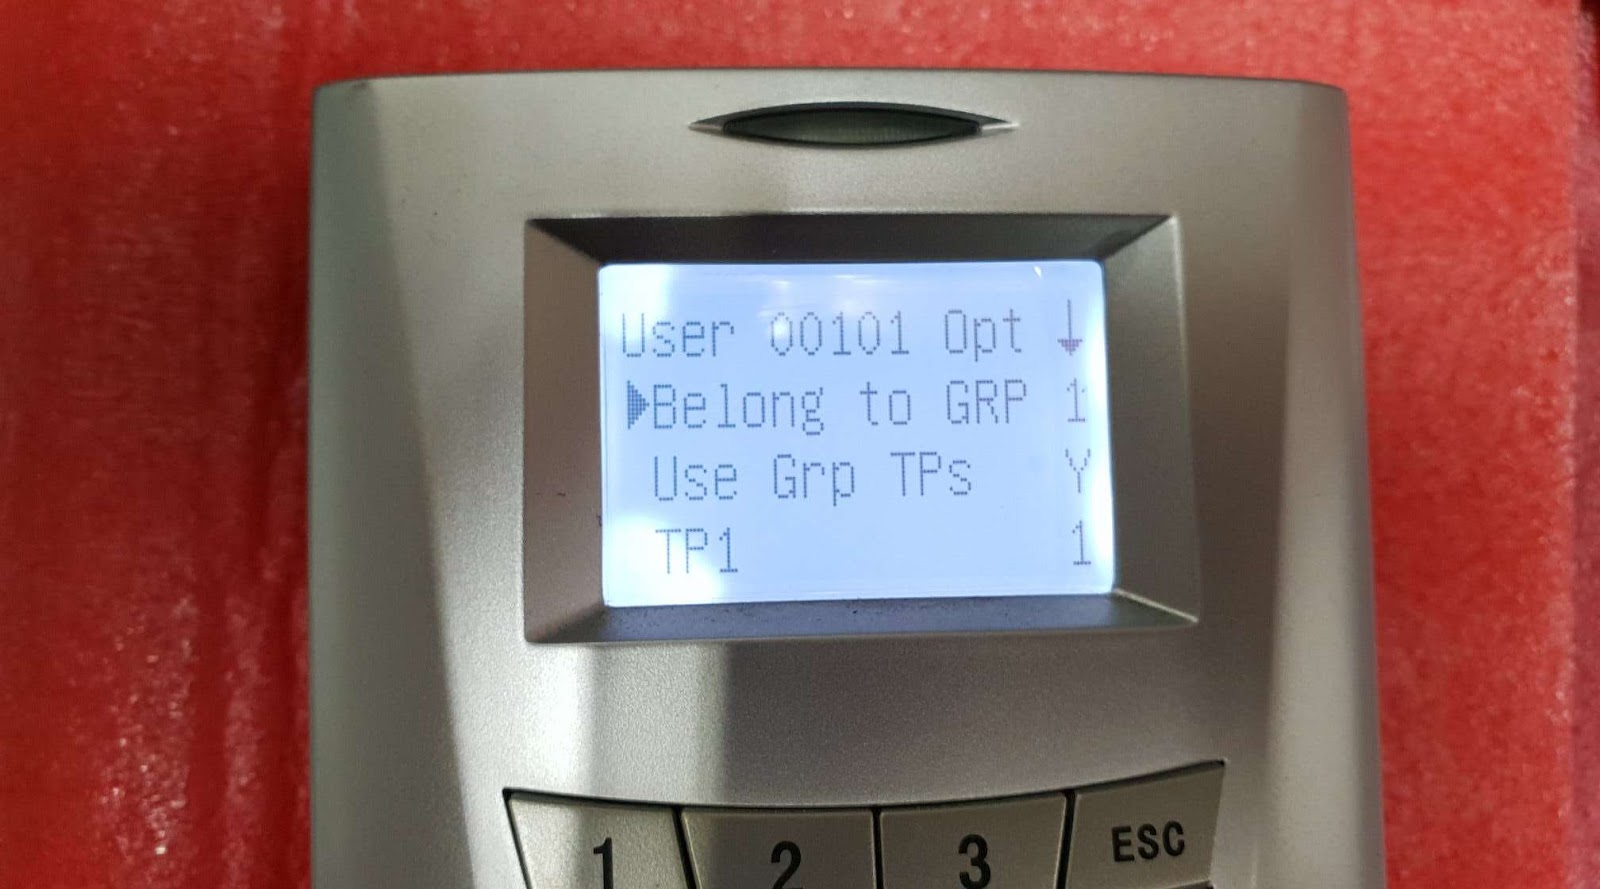
Repeat Step 1 for the second user: -
Menu > Options > Access options > User acc opts > “define user pin” example (102) > Belong to GRP “2”.

To assign two persons for an operation combo
2.1 We need to create a combo name, in this example is Combo No 1.
Menu > Options > Access Options > Access Comb > Comb No 1 > OK.
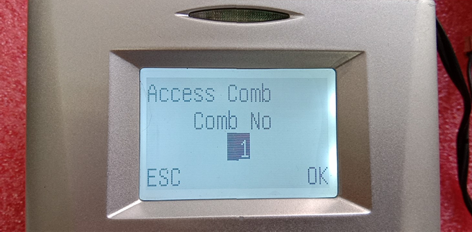
Next, we need to assign two persons in this Operation Combo:-
Person number one belongs to GROUP “1” and Person number two belongs to GROUP “2”.

3. Access Combo For three Persons
Below is an example of Access Combo for three persons but the access can be granted by only two persons at one time: -
3.1 Repeat Step 1 for User Number 3 that belongs to Group 3:-
Menu > Options > Access options > User acc opts > “define user pin” example (103) > Belong to GRP “3”

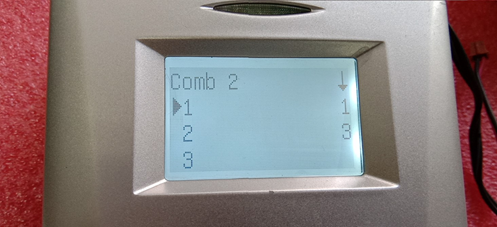
3.2 Create another combo named as Combo No 2:-
Menu > Options > Access options > Access Comb > Comb No 2 > OK: -

In Combo No 2, the users must be assigned as:-
Person number one belongs to GRP “1” and Person number three belongs to GRP “3”.
3.3 Create another combo named as Combo 3: -
Menu > Options > Access options > Access Comb > Comb No. 3 > OK: -

In Combo No. 3, the users must be assigned as:-
Person number one belongs to GRP “2” and Person number two belongs to GRP “3”.
When the settings have been done, and the door access is assigned with Access Combo function, the relevant people’s fingerprints have to be presented at the door in order to access it.
Access Combo is an access control function that requires verifications to be done by a combination of different users. This function is suitable for highly-secured rooms or vaults that need more than senior-level employees from different departments to verify their identities before the door can be accessed. This tip will explain how to set this function in case your company would want to use it.
Steps and Procedures
To set up an access combo for two persons, each person must be assigned to a different group and a different combination
To set up a group and assign a user into a group.
Menu > Options > Access options > User acc opts > ”define user pin” example (101) > Belong to GRP “1”.
Repeat Step 1 for the second user: -
Menu > Options > Access options > User acc opts > “define user pin” example (102) > Belong to GRP “2”.
To assign two persons for an operation combo
2.1 We need to create a combo name, in this example is Combo No 1.
Menu > Options > Access Options > Access Comb > Comb No 1 > OK.
Next, we need to assign two persons in this Operation Combo:-
Person number one belongs to GROUP “1” and Person number two belongs to GROUP “2”.
3. Access Combo For three Persons
Below is an example of Access Combo for three persons but the access can be granted by only two persons at one time: -
3.1 Repeat Step 1 for User Number 3 that belongs to Group 3:-
Menu > Options > Access options > User acc opts > “define user pin” example (103) > Belong to GRP “3”
3.2 Create another combo named as Combo No 2:-
Menu > Options > Access options > Access Comb > Comb No 2 > OK: -
In Combo No 2, the users must be assigned as:-
Person number one belongs to GRP “1” and Person number three belongs to GRP “3”.
3.3 Create another combo named as Combo 3: -
Menu > Options > Access options > Access Comb > Comb No. 3 > OK: -
In Combo No. 3, the users must be assigned as:-
Person number one belongs to GRP “2” and Person number two belongs to GRP “3”.
When the settings have been done, and the door access is assigned with Access Combo function, the relevant people’s fingerprints have to be presented at the door in order to access it.
Anti Passback for One Time IN, One Time Out for R2c (Slave) and R2
Anti Passback is a feature that prevents users from tailgating through controlled areas by tracking the entry and exit counts. A user can only exit an area that they have already been entered and can only enter an area that they have been previously exited.
How to Use
First, we need to determine which device will be assigned as IN and OUT, depends on the installation of the device.
If the R2 has been determined as IN for the door, you can change the configuration as below: -
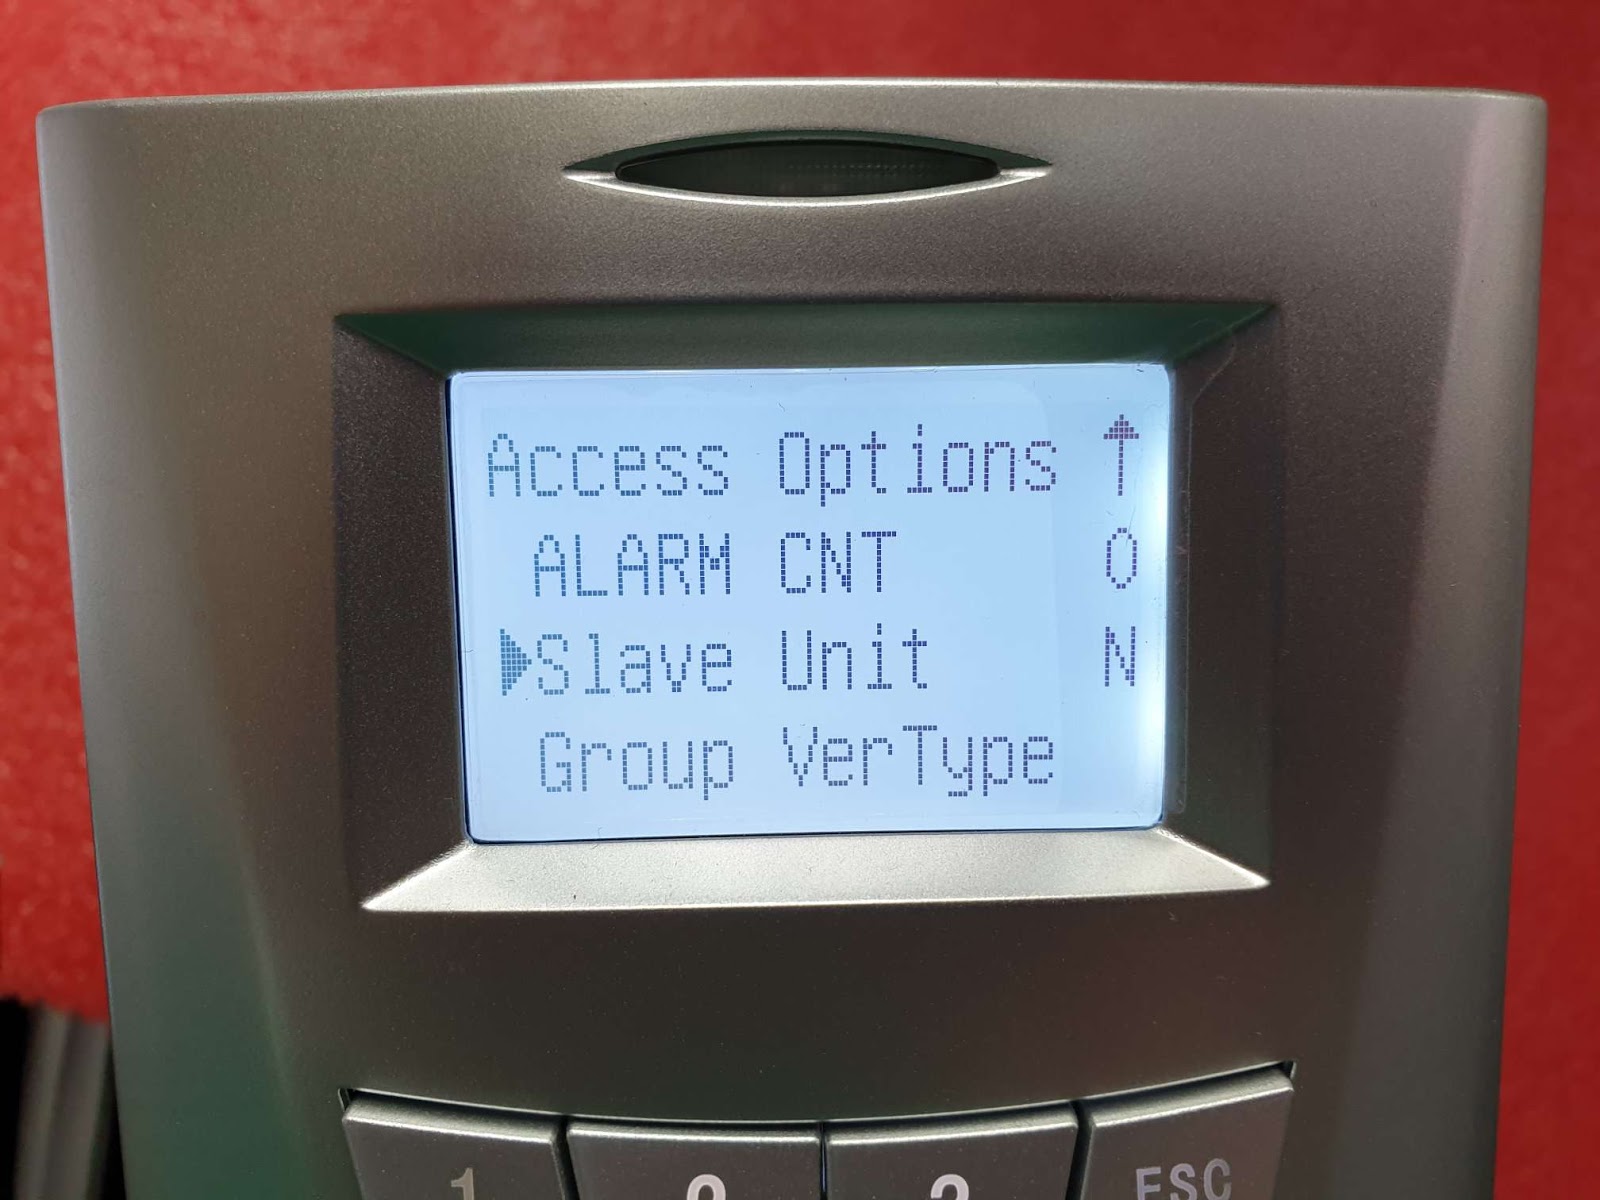
Menu > Access Options > Slave Unit “Y”
If the R2c (Slave) has been determined as IN for the door, you can change the configuration as below: -Menu > Access Options > Slave Unit “N”
The configuration for an Anti Passback can be set as below: -
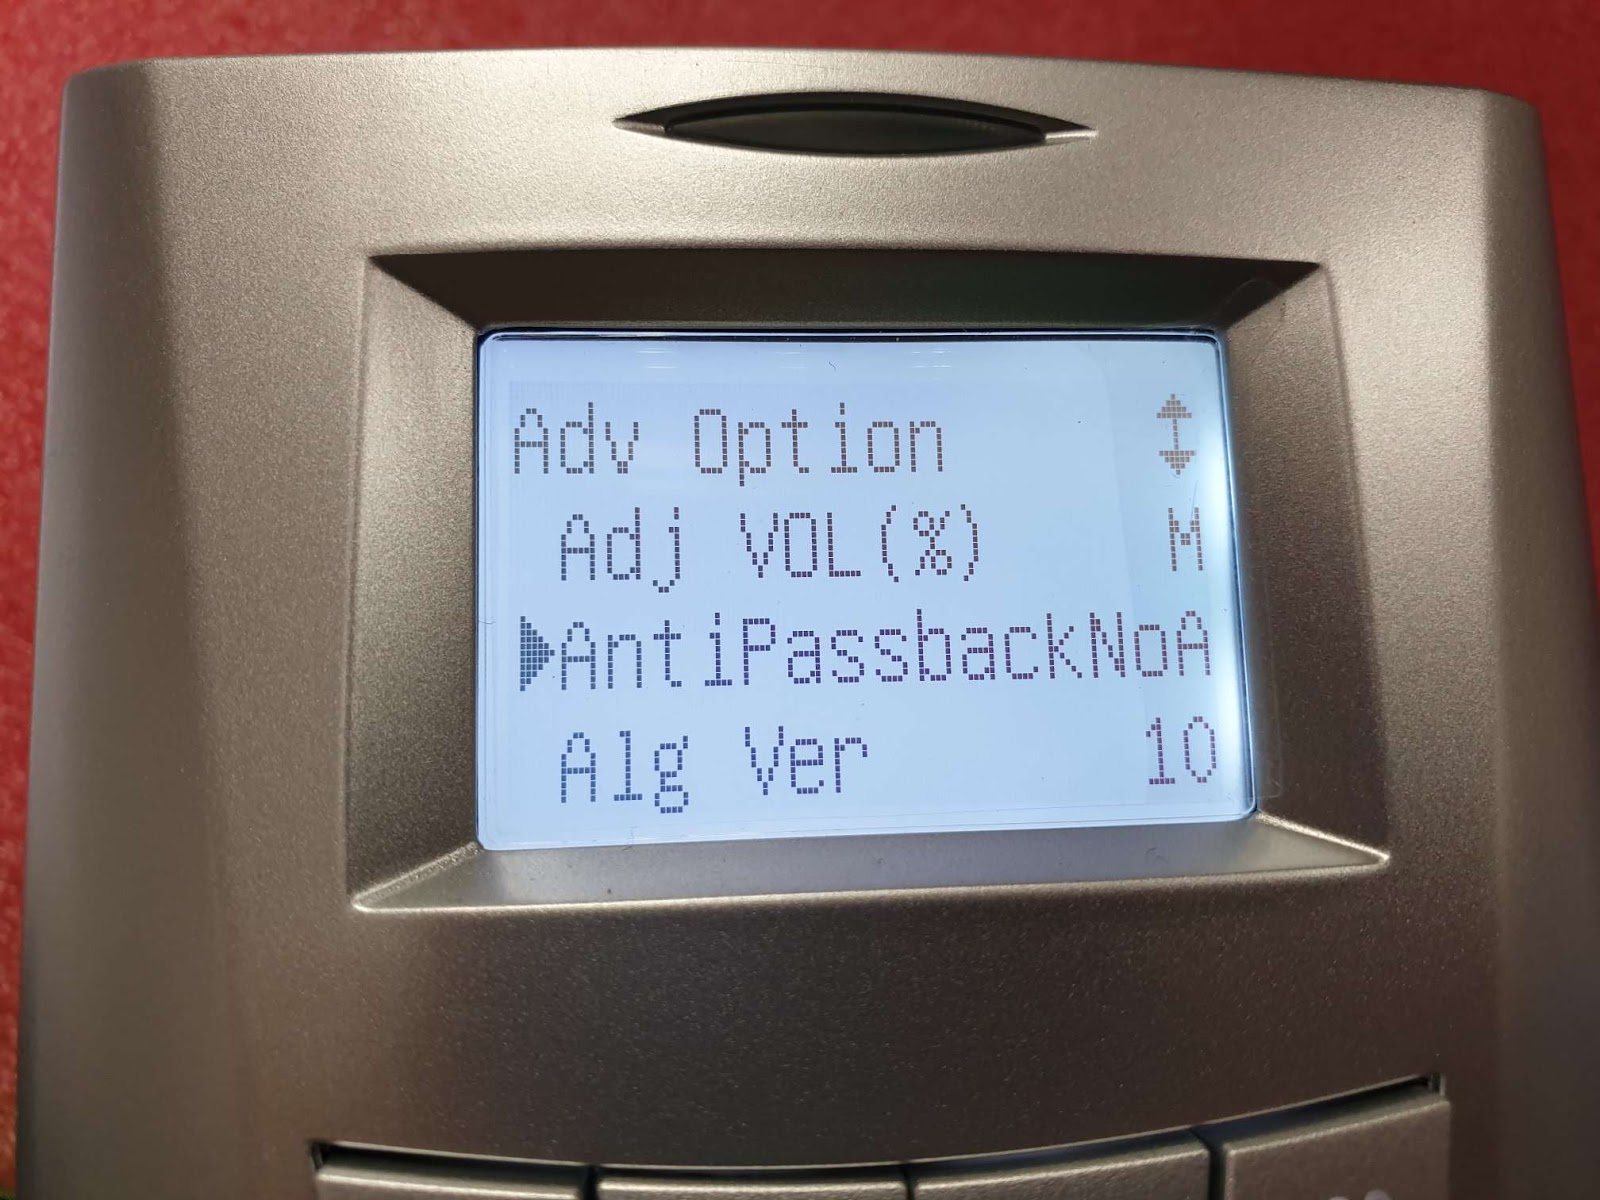
Menu > Options > System opt > Adv Option > Anti Passback NoA
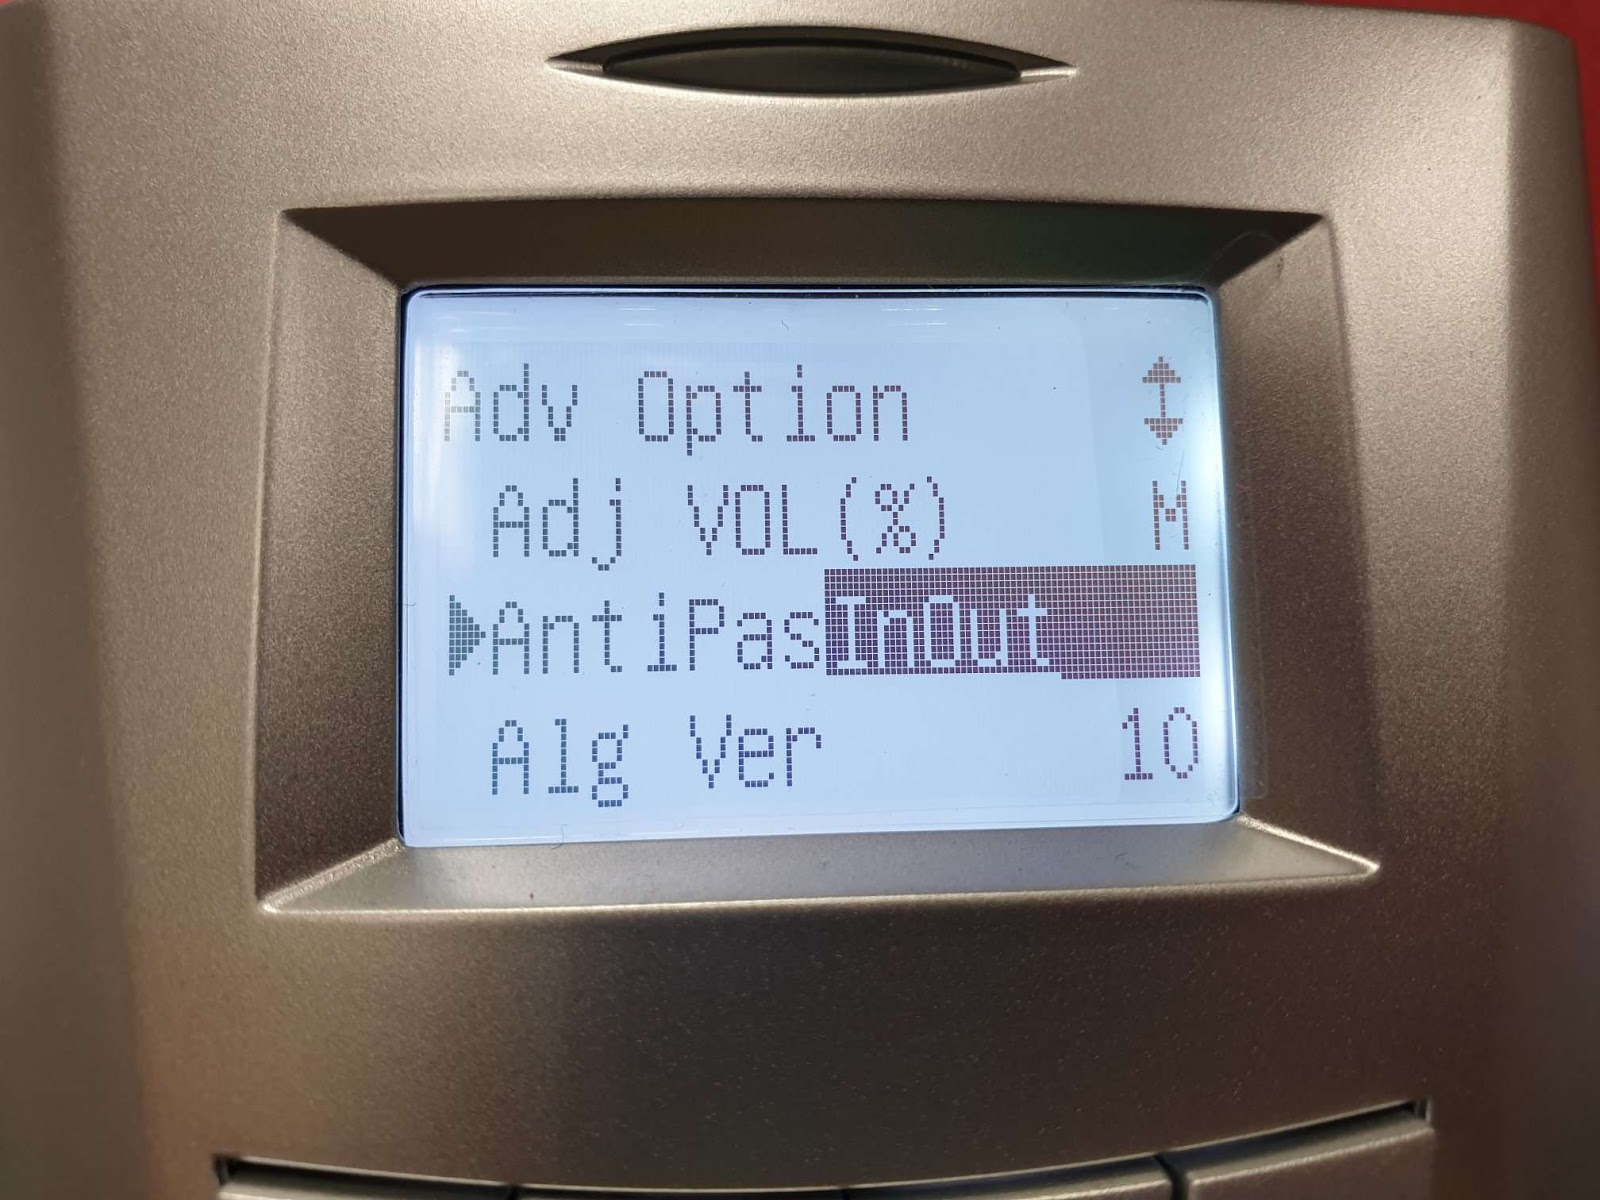
Menu > Options > System opt > Adv option > Anti Passback “In Out” > OK > Esc > Save
If the configuration doesn't work, it means that the CMOS battery inside the R2 has already drained. To fix this, change the battery CR11220 inside the R2 and all enrolled users have to be *deleted. Then, re-enroll the users via Ingress software.
*Please make sure to do the back up from the device before you delete the enrolled users.
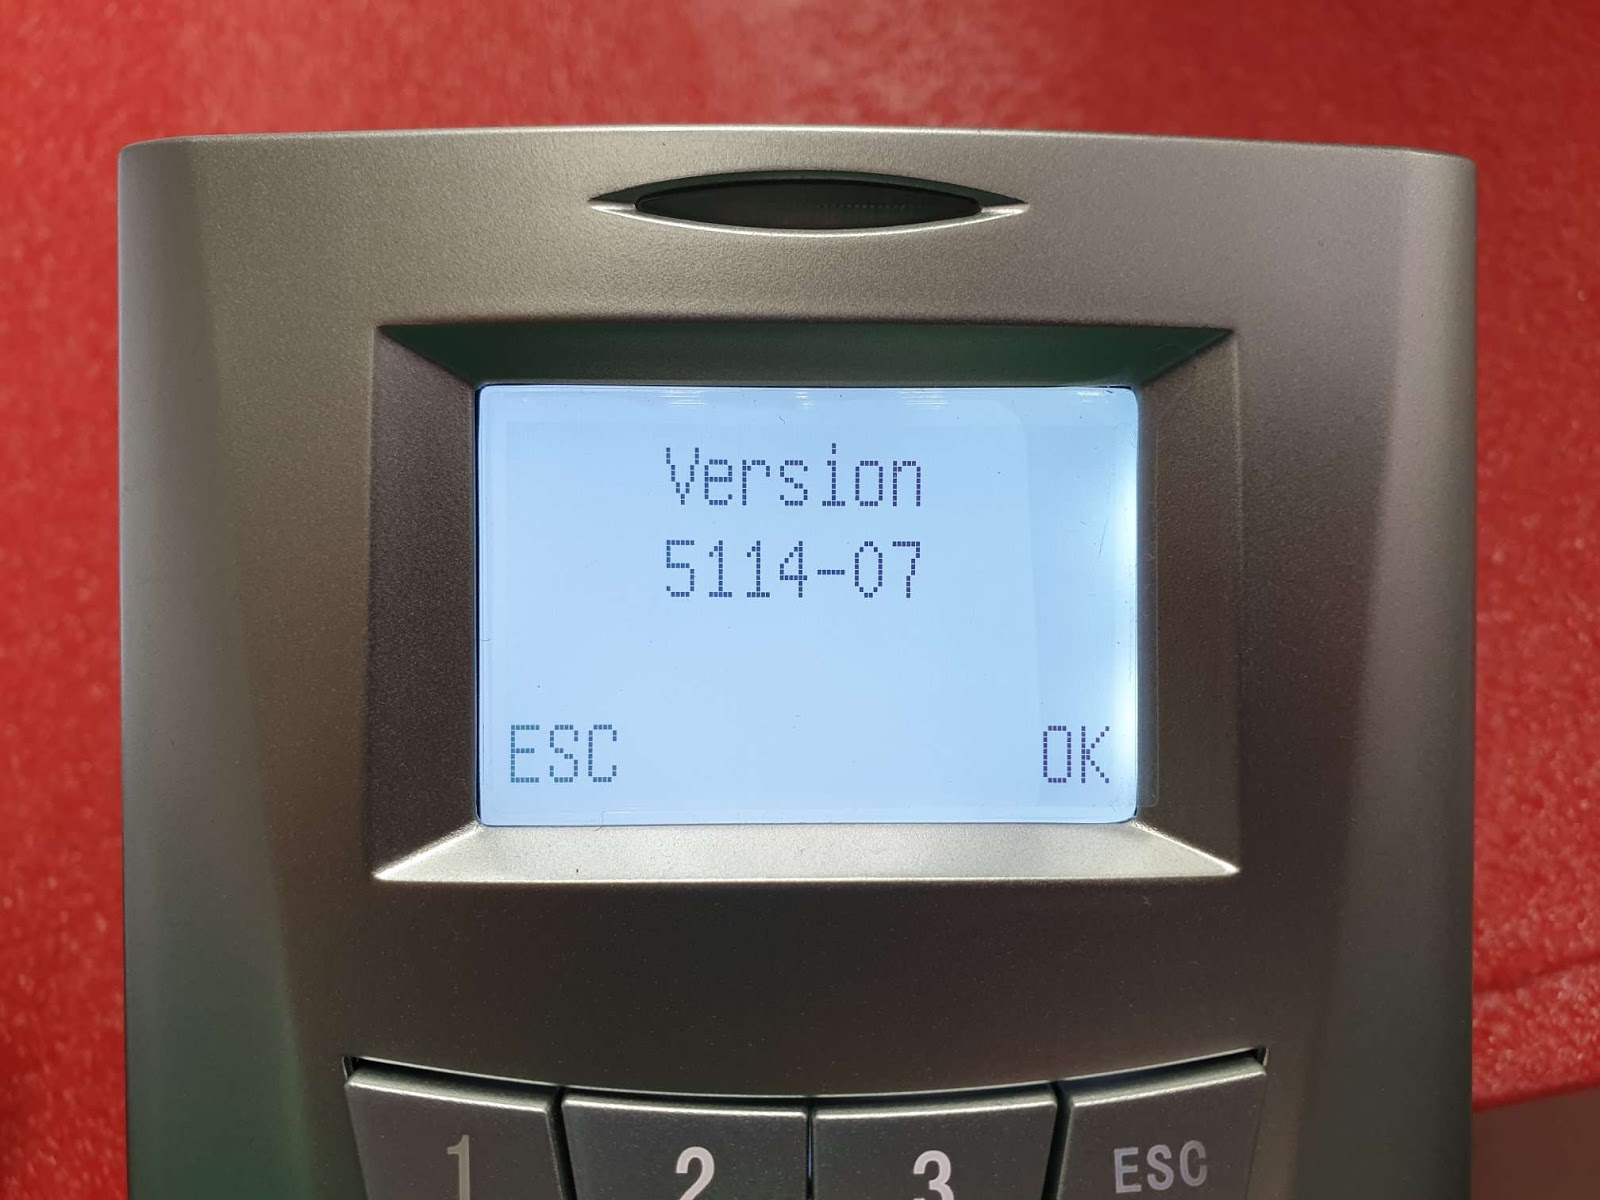
NOTE: For R2 Firmware, the version is 5114-07. Once you have checked the firmware version, key in the number “6 1 6 1” and then press the “Up” button.
If you find the firmware version is different from the picture above, please contact support@fingertec.com to request for an assistance to update the firmware.
Note: If any of the screenshots or steps in this manual are different from the current system, it is due to our continuous effort to improve our system from time to time. Please notify us at support@timeteccloud.com. We will update it as soon as possible.
Related Articles
Configure Anti-Passback Mode Using Ingress
In FingerTec's integrated access control application, Ingress, there is a function called anti-passback. This function is primarily used to prevent the misuse of access control systems by establishing a specific sequence in which access cards must be ...Face ID 5 – Face ID 5 Master – Slave Connection with Anti-Passback Setup
Introduction In previous technical tips, we have guided you on how to set it up and we also provide a wiring diagram for the Face ID 5 – Face ID 5 (master-master) connection. Now, we show you how to set up Face ID 5 – Face ID 5 (master–slave) ...Using Access Combo in TCMS V2
'Access Combo' is yet another access control function that is included in the powerful data management application, TCMS V2. Use this feature to heighten protection at a specific door, whereby verification needs to be done by a combination of ...R3 - R3 Master -Slave Anti-Passback 2 Doors Wiring Diagram & Setting
Introduction Some companies look for full control of their own premises. Requirements such as having just one way in and out with two doors to control the access movement within the building. This can be done by setting in our R3 device using the ...Installation Wiring Diagram and Settings for R3 and R2c
Introduction With the new release of our latest products, some terminal installations are different from our previous guides and diagrams. Below is the full installation wiring diagram and settings to connect R3 with R2c. Benefits By pairing R3 with ...
