Owner’s Notification for Visitor Check-in and Check-out
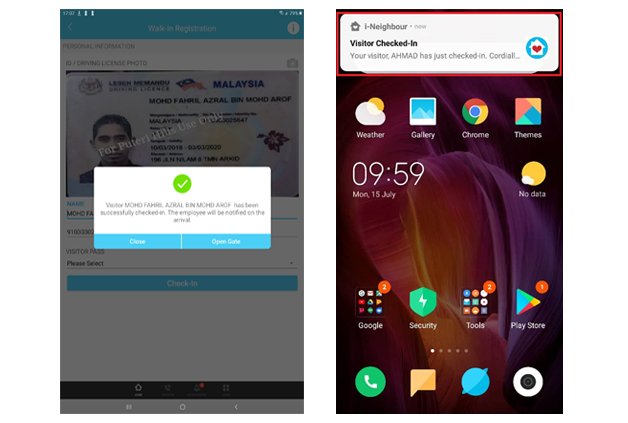
When a visitor has been checked-in by a security guard, the owner who is receiving this visitor will get a pop-up message to notify that he has a visitor.
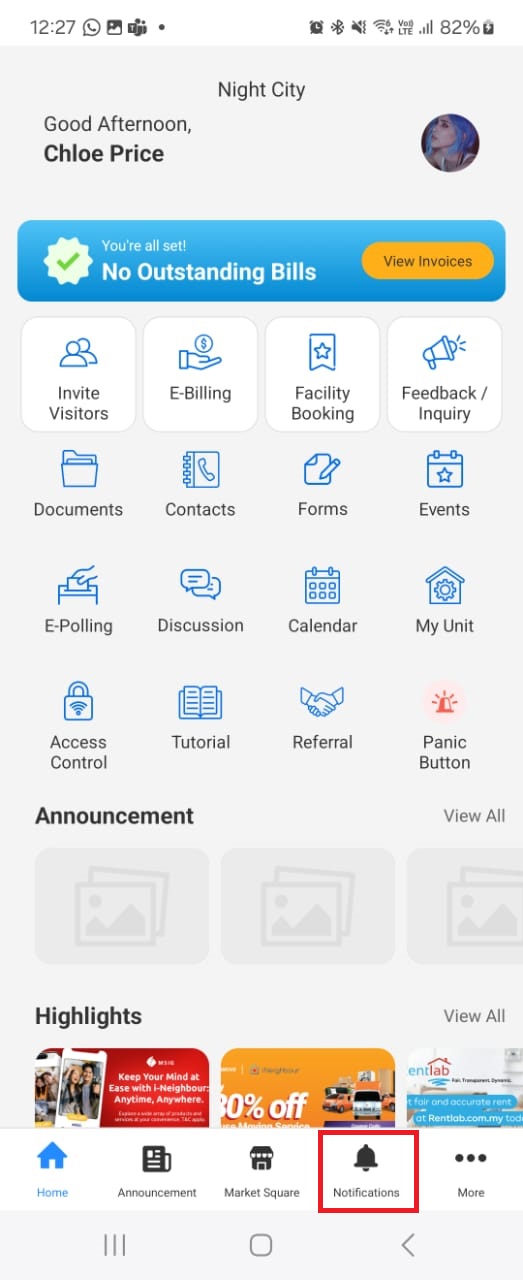
If the owner clears the notification bar without looking at who’s coming to their house or did not get the notification at all, they still can view the visitor on the app by following the steps below:
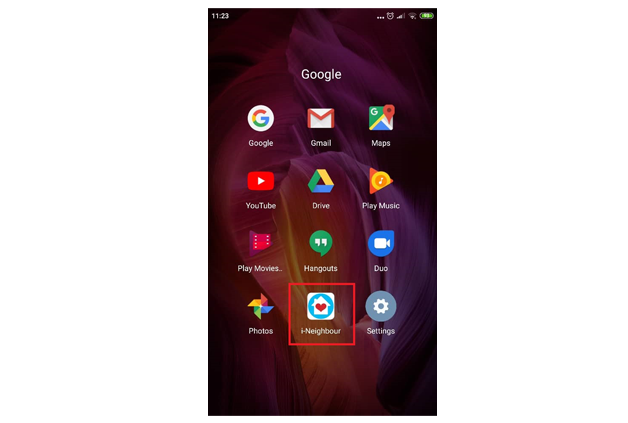
1. Launch i-Neighbour app
2. Notification
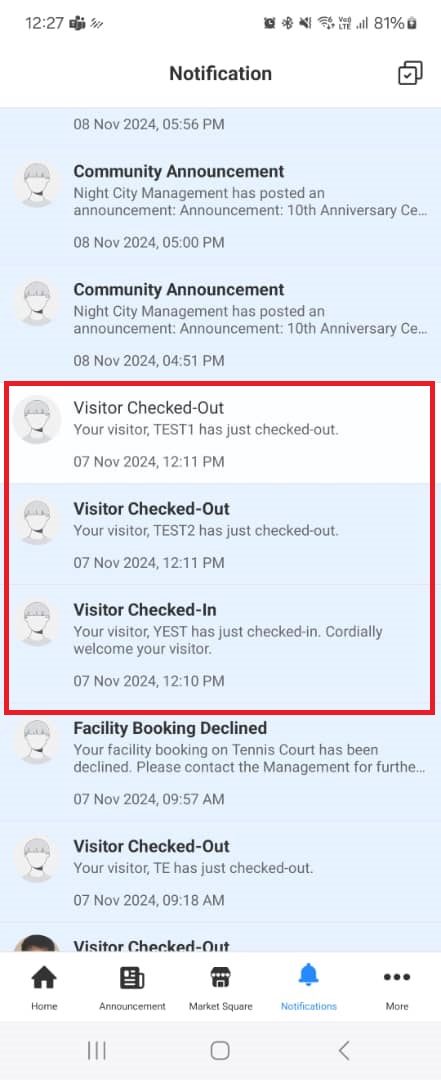
The owner can see the list of visitors who have checked-in and checked-out under his/her unit.
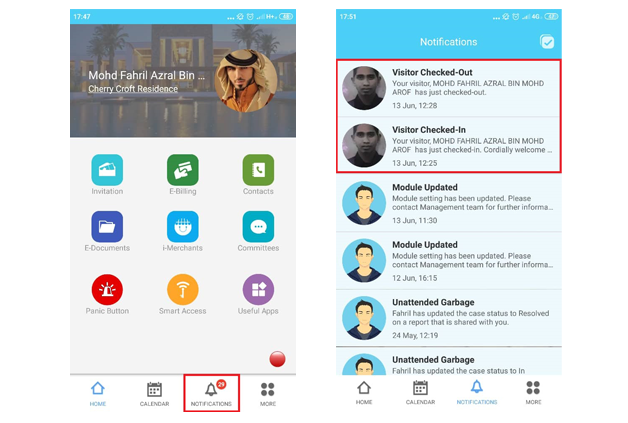
The owner also can view the list of his visitors who are still in his neighbourhood.
Follow the steps below:
1. Launch i-Neighbour app
If the owner clears the notification bar without looking at who’s coming to their house or did not get the notification at all, they still can view the visitor on the app by following the steps below:
1. Launch i-Neighbour app
2. Notification
The owner can see the list of visitors who have checked-in and checked-out under his/her unit.
The owner also can view the list of his visitors who are still in his neighbourhood.
Follow the steps below:
1. Launch i-Neighbour app
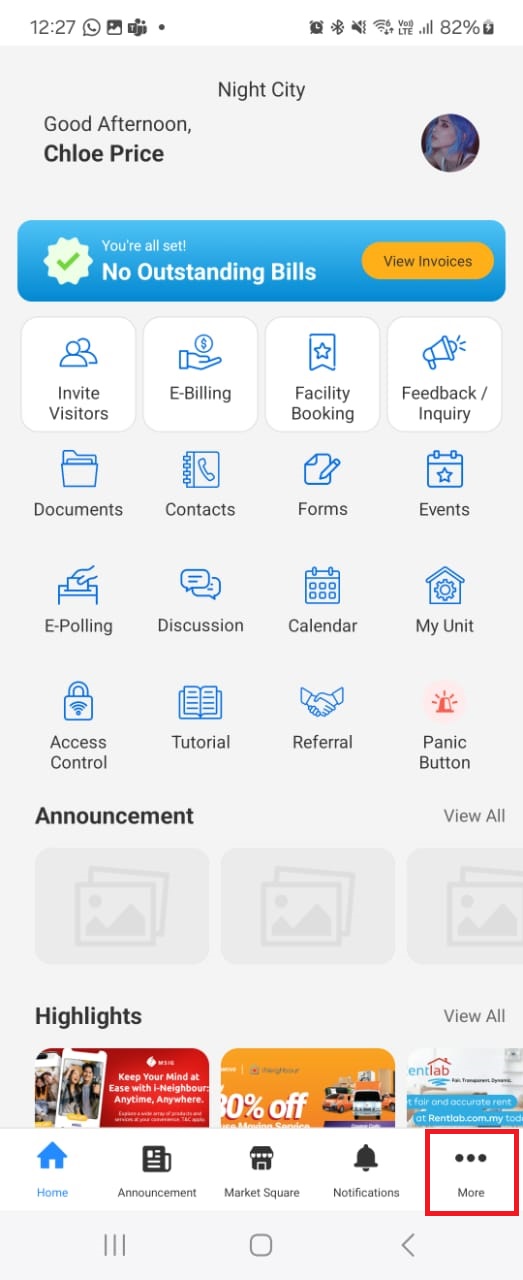
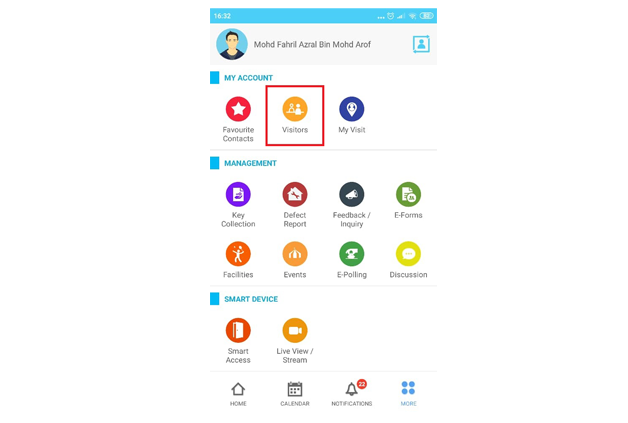
2. More (bottom right)
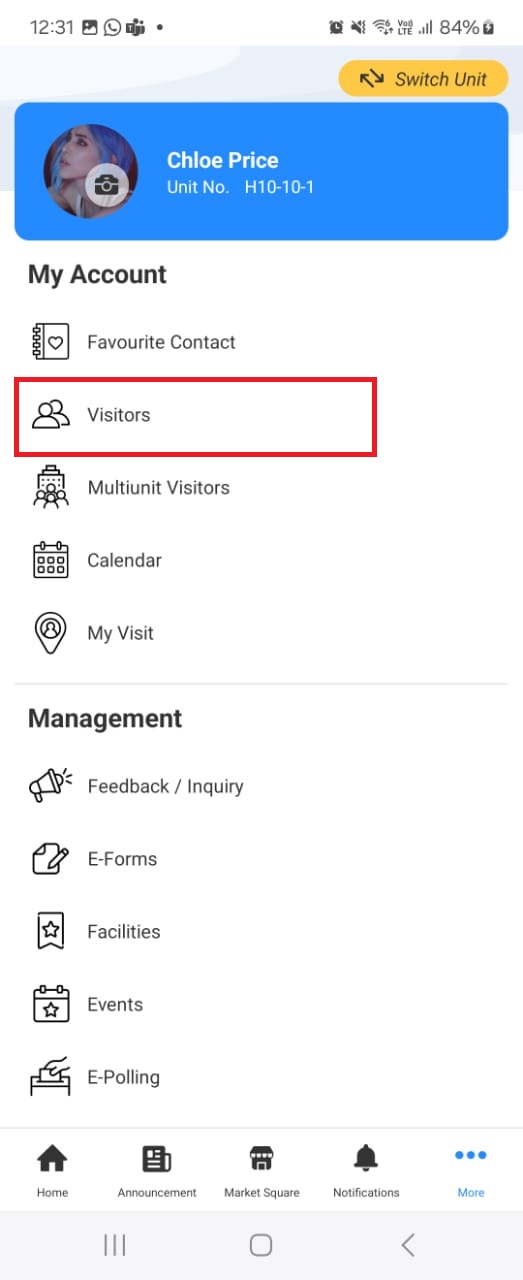
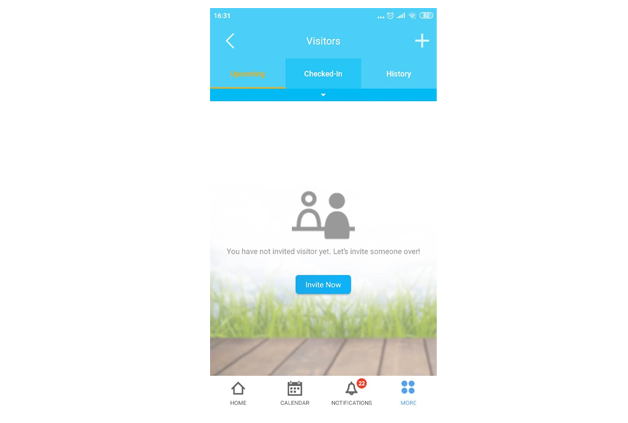
3. Visitors
There are 3 lists of detail
1. Upcoming
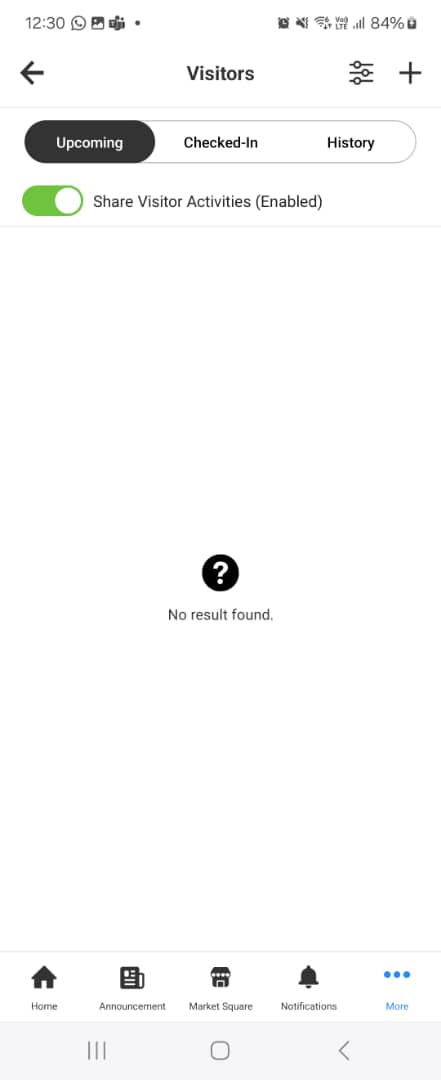
2. Check-in

3. History
1.Upcoming
The visitor that has been invited by the owner using invitation features. These visitors will using the QR Codes during check-in.
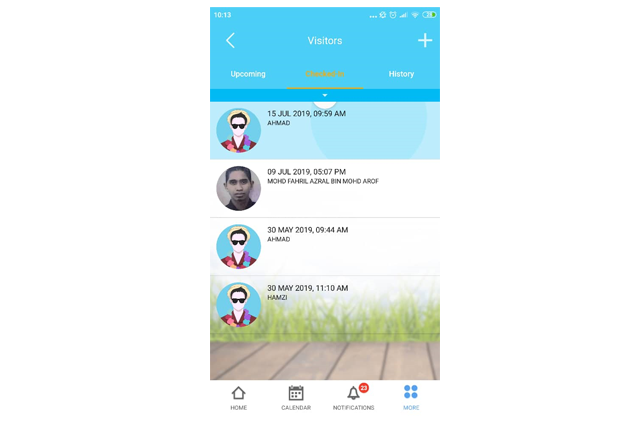
2.Check-in
The visitors who are still in your neighbourhood that have registered under your unit.
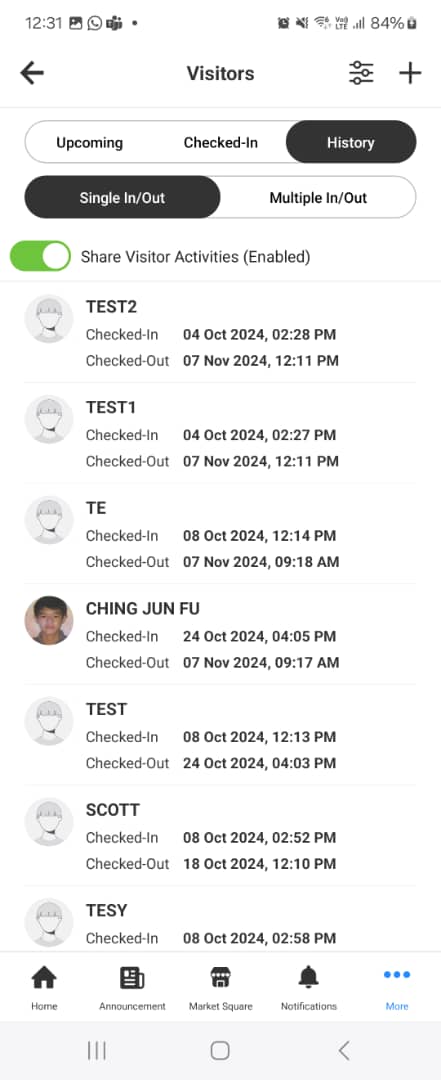
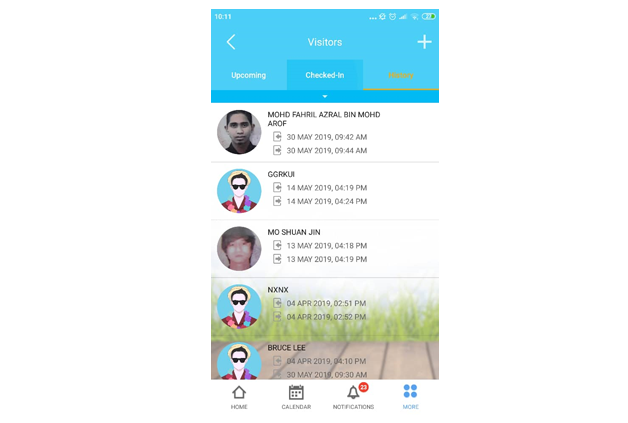
3.History
All visitor data that are registered under your unit will stay in the i-Neighbour cloud for 2 years. You can check your visitor history in these features.
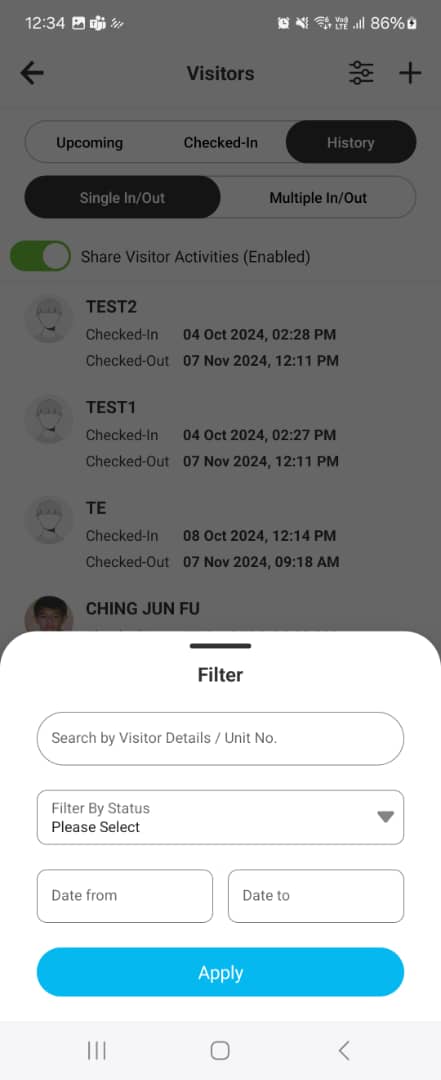
You can also search by name, filter by check-out, expired, declined and cancelled. You can select the date range you want to see visitors history.

If you are still having problems after completing all of the steps stated above, please contact us via support@i-neighbour.com.
Note: If some of the screenshots or steps viewed here are different from the ones in the current system, this is due to our continuous effort to improve our system from time to time. Please notify us at info@i-neighbour.com, we will update it as soon as possible.
3. Visitors
There are 3 lists of detail
1. Upcoming
2. Check-in
3. History
1.Upcoming
The visitor that has been invited by the owner using invitation features. These visitors will using the QR Codes during check-in.
2.Check-in
The visitors who are still in your neighbourhood that have registered under your unit.
3.History
All visitor data that are registered under your unit will stay in the i-Neighbour cloud for 2 years. You can check your visitor history in these features.
You can also search by name, filter by check-out, expired, declined and cancelled. You can select the date range you want to see visitors history.
If you are still having problems after completing all of the steps stated above, please contact us via support@i-neighbour.com.
Note: If some of the screenshots or steps viewed here are different from the ones in the current system, this is due to our continuous effort to improve our system from time to time. Please notify us at info@i-neighbour.com, we will update it as soon as possible.
Related Articles
“NOT MY VISITOR” - Report Wrongly Check-In Visitor in i-Neighbour
This article teaches users how to report wrongly checked-in visitors. Process Once a visitor is successfully registered at the guardhouse tablet, the Unit owner will receive a notification informing him that the visitor has checked-in. STEP 1 Tap on ...How to Insert Visitor Check In Remark
1. Tap "Checked In Visitor" on the home screen. 2. Select Visitor. 3. Tap on Settings icon. 4. Select "Check-In Remark". 5. Type in remark and tap "Continue" when done. 6. Tap OK to finish.How to Pre-register as a Visitor
Visitors can pre-register themselves to visit the homes of friends and family via the i-Neighbour app. During the registration process, visitors will be notified once the home owner has accepted their request to visit on the chosen date and time. How ...i-Neighbour / i-Vizit - Blacklist Visitor
Blacklisting visitors can ensure that the same person will not be permitted into the premises when he or she re-attempts to re-enter your neighbourhood. However, please do ensure a reasonable excuse is submitted for this action. This is to prevent ...Visitor Registration Process for Shared Guardhouse account
The registration for shared neighbourhood guard house account remained the same as the normal i-Vizit account. The only difference appears under the resident information, a neighbourhood selection has been added. To Register visitor Step 1 - Press ...