i-Account - How to Issue a Refund to Owner
Introduction
Occasionally, the management needs to issue refund payments to owners and residents for circumstances such as a refund for penalties, cancellation of bookings/charges or overpayments.
Below are the steps to record this in the i-Account system.
Process
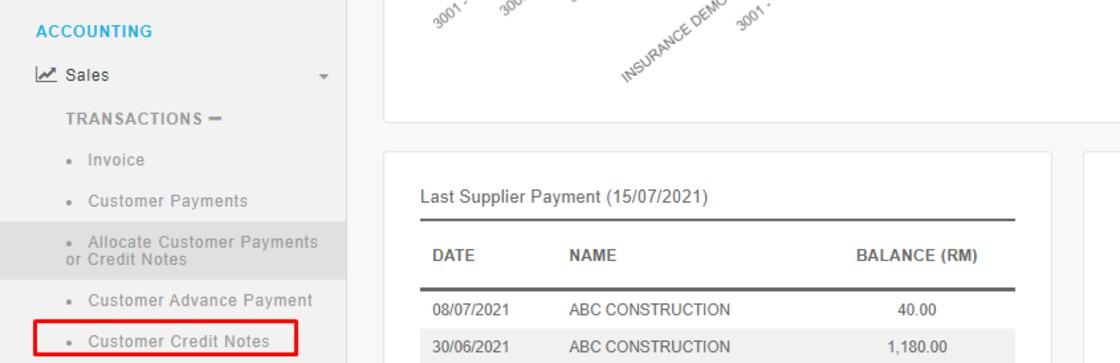
Before you proceed with issuing a payment voucher for the refund, consider if you need to issue a Credit Note to offset/cancel an invoice that has been previously issued. If yes, go to Sales > Transactions > Customer Credit Notes. If not, skip this section.
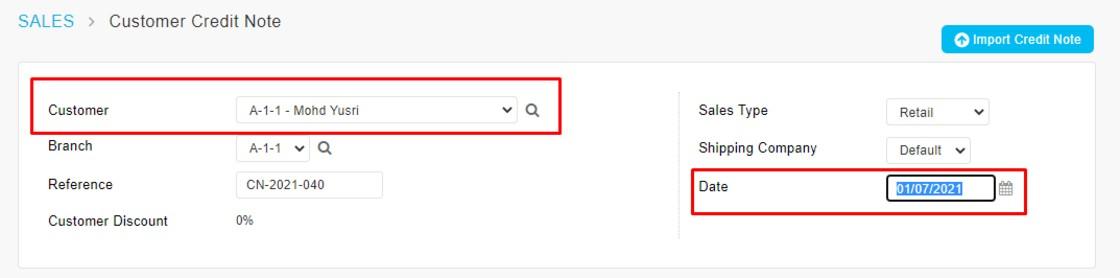
Step 2
Select the owner name from the dropdown and set the Date for the Credit Note.
Select the Credit Note item (e.g. Penalty Clamping), enter the amount and click on the “+” icon to add the line item.

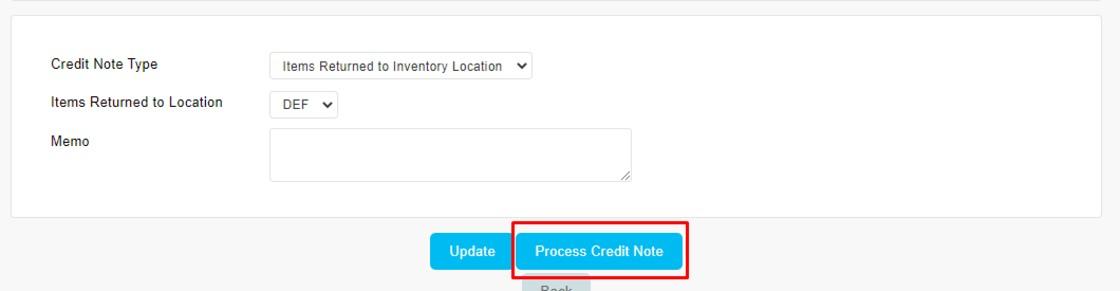
Step 4
Click “Process Credit Note” at the bottom of the page.
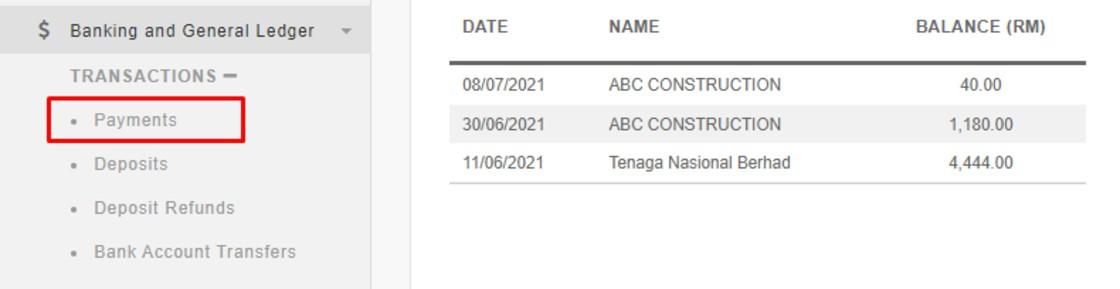
B) Issue Payment Voucher
Next, you can proceed to issue a Payment Voucher for the refund.
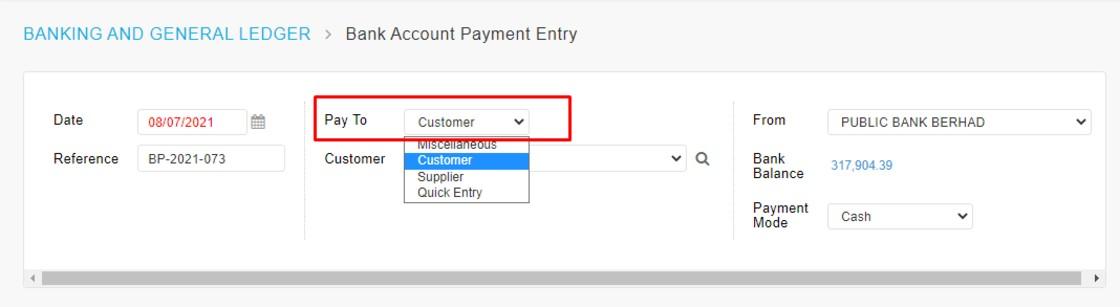
Step 2
Set the date and select “Customer” at Pay to section.
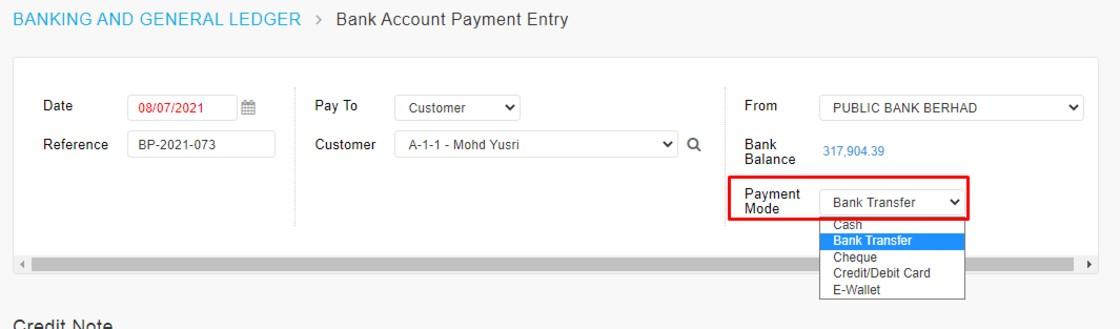
Step 3
Select the Payment Mode for this refund.
Step 4
Allocate the payment against the Credit Note that has been issued previously. Just click on “All” if the refund is for the full Credit Note amount.

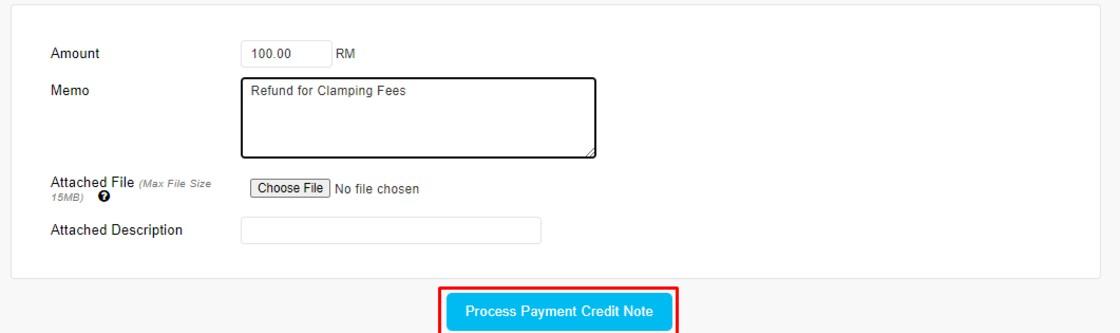
Step 5
Next, you can add a Memo before clicking “Process Payment Credit Note” at the bottom of the page.
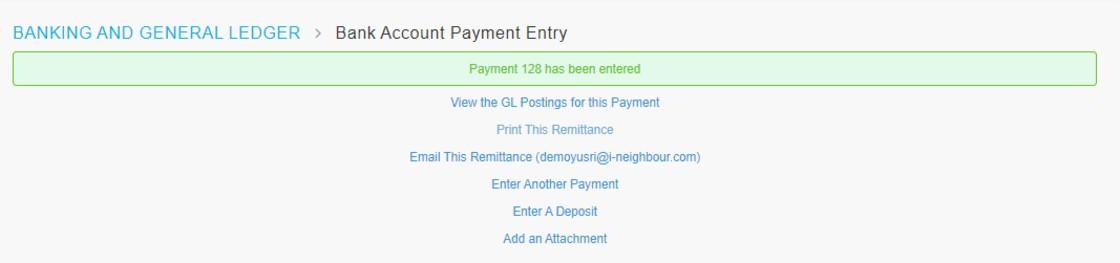
This pop-up message will appear once the Payment Voucher is successfully processed.
Related Articles
i-Account User Guide Pages
Billing, Account Statement & Notice Generate Quarterly Billing (SCI Statement) Automatically with Auto Recurring SCI Feature Link How to Charge Late Payment Interest (LPI) Link How to Issue Direct Invoice Link How to Upload Water (or Electricity) ...How to Create Refundable Deduction (Contra Maintenance) for Refundable Deposit in i-Account
Introduction In the Banking and General Ledger module, there is a refundable deposit function to record and track refundable deposits in the system. After a certain period, the Management needs to issue a payment voucher to refund the deposits ...Changing Unit Owner in i-Account
Introduction Periodically, there will be instances of sale or sub sale of a unit in a property. When this happens and management is notified, the Admin has to change the unit owner information and add the new owner into the system. This step is to ...E-Invoice – How to Issue & Submit Individual E-Invoice
Introduction i-Account’s e-Invoice module enables e-Invoice submission through direct LHDN API integration. Once enabled, you can assign TimeTec as an intermediary to handle the submission of e-Invoices to LHDN on behalf of the entity. Important ...Refundable Deposit User Guide
1.1 Introduction In the Banking & General Ledger module, the Refundable Deposit function allows you to record and track refundable deposits in the system. Using this function, you can view records of payments received, refunds made, and any ...