i-Account - How to Add or Remove Admin
Introduction
Refer to the below guide on managing users in the system.
How to Add New Admin User
Note: Only i-Neighbour users assigned as a ‘Full Access Administrator’ or users that have edit permission for Manage Admin are authorised to add new Admin users. Refer to the user guide here: https://www.i-neighbour.com/UG_manage_admin

2. Click on the ‘+ Add’ button to add a new Admin user.


5. Turn off the "Add as Emergency Contact" and click on the Save button.


6. System will send an activation email to the Admin.

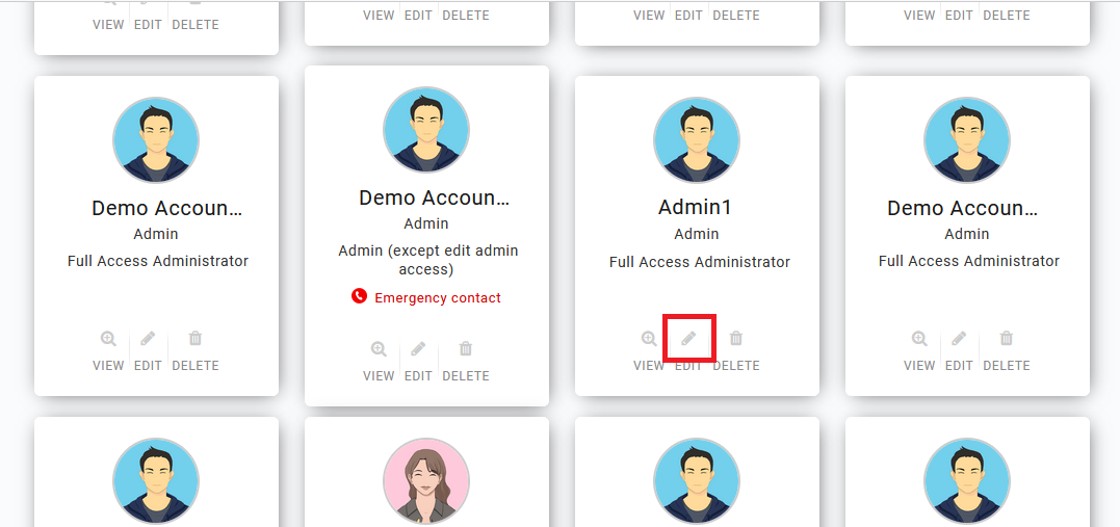
7. Once the Admin has activated his/her account, you can assign the i-Account system role. Go to the Manage Admin page and click on the Edit button for this particular Admin.


For more information on these six default roles, you can refer to the ‘i-Account System Role’ tab also under Manage Admin.

9. After gaining access, the new i-Account Admin will also be able to view the i-Account login icon on the right side of the navigation menu.

i: Option 1: Disable Admin Access - Change the system role assigned from one of the six default roles to ‘No access to i-Account’
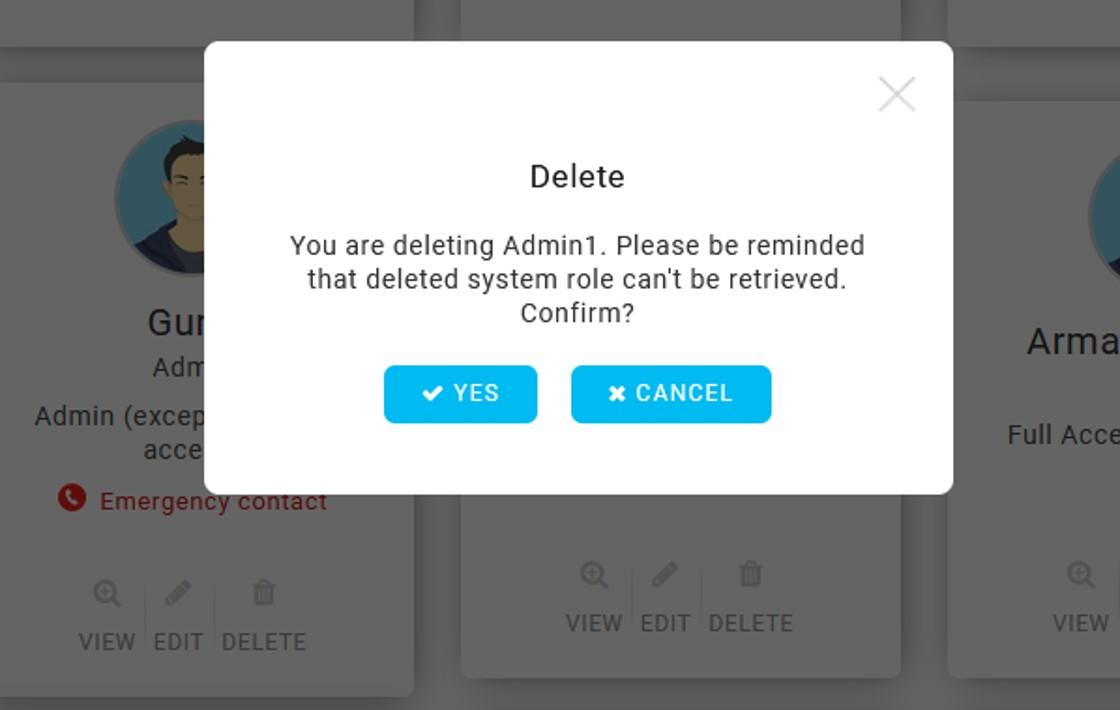
ii: Option 2: Delete the Admin from i-Neighbour
2. For option 1, log in to i-Neighbour. Go to the Community > Manage Admin page. Click on the Edit button.

Note: i-Neighbour ‘Full Access Administrator’ is allowed to make changes at Manage Admin. Thus, this option is not applicable if the user is still assigned as an i-Neighbour ‘Full Access Administrator’.


Related Articles
i-Account User Guide Pages
Billing, Account Statement & Notice Generate Quarterly Billing (SCI Statement) Automatically with Auto Recurring SCI Feature Link How to Charge Late Payment Interest (LPI) Link How to Issue Direct Invoice Link How to Upload Water (or Electricity) ...How to Create New GL Account
A. Steps to Create New GL Account 1. Go to Accounting > Banking & General Ledger > Maintenance > GL Accounts. Note: Only users assigned to ‘System Administrator’ for their i-Account system role have access to this GL Accounts management page. ...Changing Unit Owner in i-Account
Introduction Periodically, there will be instances of sale or sub sale of a unit in a property. When this happens and management is notified, the Admin has to change the unit owner information and add the new owner into the system. This step is to ...i-Account User Guide – Customer Payment
Introduction In the Customer Payment entry page, you can record payments received from owners/debtors. Key in the Amount first before allocating the payment to invoices or setting it as an Advance Payment. After entering the payment, you can review ...i-Account - How to Assign and Unassign Unit Owner to Customer Group
Introduction Admins can assign unit owners into specific groups to differentiate when generating batch invoices or extracting the reports efficiently. To assign the unit owners into a specific group, Admin can follow the step as below: Steps 1. Once ...