How to Invite Your Family Members/Tenants into i-Neighbour App and Activate an Account
This article teaches users how to invite your family members/tenants into i-Neighbour App and activate an account.
Steps and Procedures
1. Launch the i-Neighbour App. Click on the links below to download your corresponding i-Neighbour App:
a) i-Neighbour in Google Play.
b) i-Neighbour in iOS.
2. Tap on ‘My Unit’.
Note: If you are the owner and want to invite tenant(s), please do inform the management office to change your ‘Occupancy Status’ unit to Rental.
a) Owner - Unit Owner who is living in the unit and the only one who can invite family members into the platform
b) Rental - Master Tenant who is living in the unit and only tenant(s) can be invited into the platform
5. Tap on "+" to proceed.
6. Fill in the Name and Relationship (family, friend, master tenant, tenant) and tap Submit.
These are the selection views from each of the ‘Relationship’ chosen.
a) Owner
7. Tap ‘Share Link’ to send the i-Neighbour registration link to your family members. You can send through any social media app that appears on your mobile screen.
8. The following screenshot is an example of how to send the link to family members via WhatsApp mobile application.
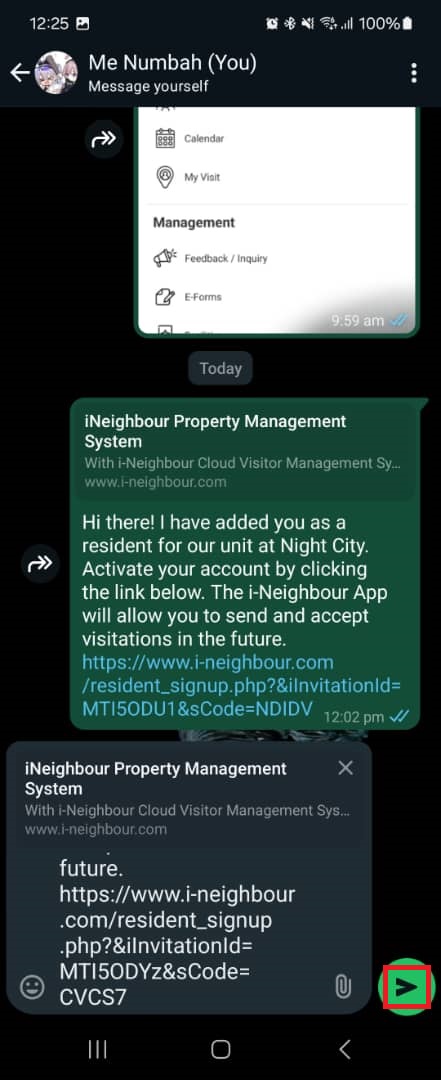
9. Once the link has been sent, the family member is at pending for account activation.

9. Once the link has been sent, the family member is at pending for account activation.
How to activate the i-Neighbour account after receiving an invitation from a unit owner.
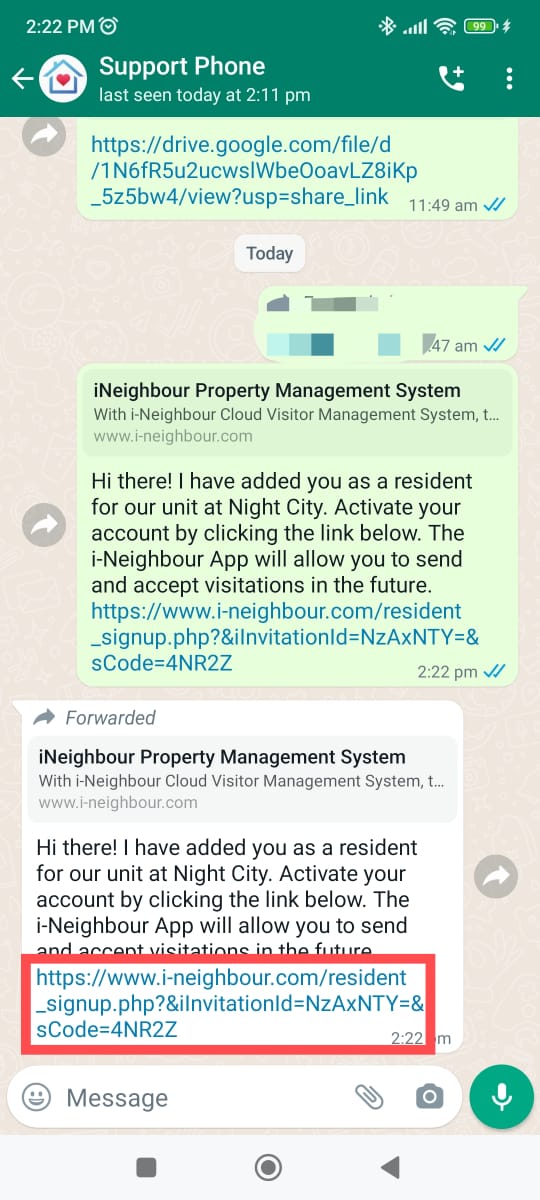
1. Tap on the link in the red box to start activating the account.
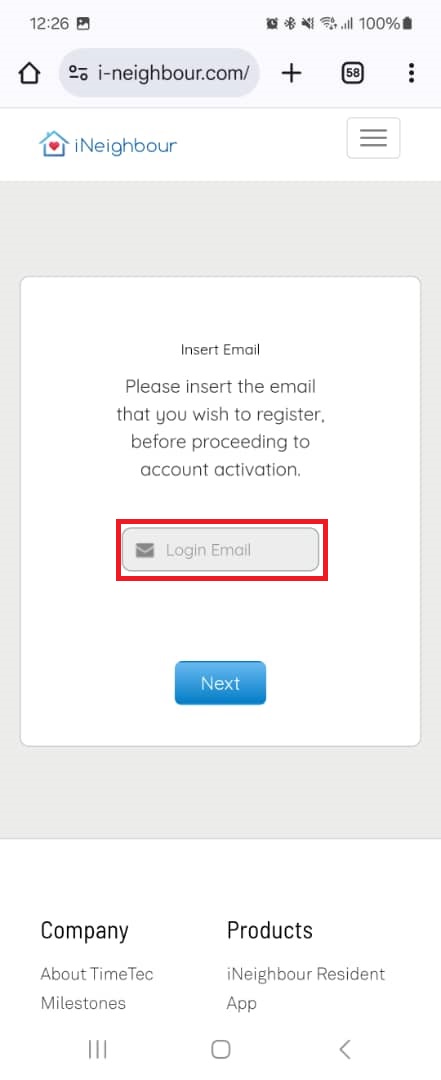
2. Enter a valid email address to use it in the i-Neighbour’s account and tap on Next.

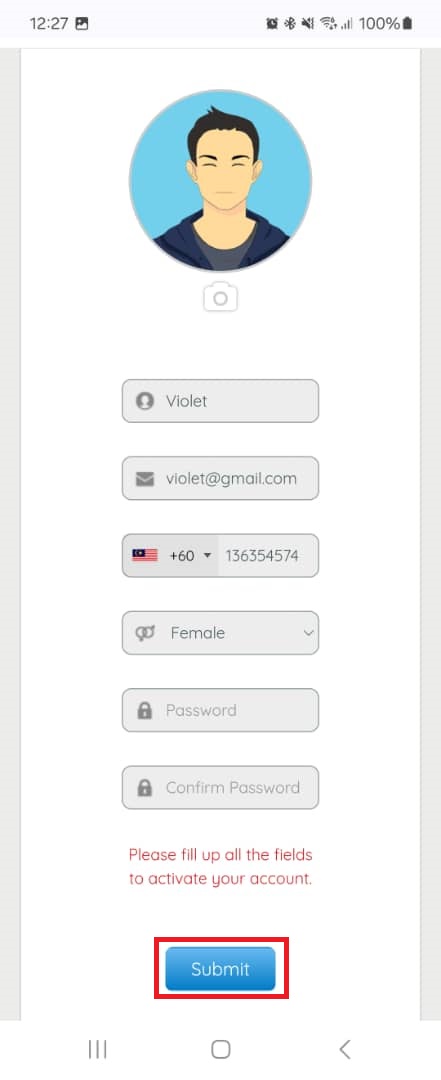
3. Fill in the information and create a password. Then, tap on Submit.
Note: Password must contain a minimum of 8 alphanumeric and has at least one capital letter. E.g.: Abc123456.
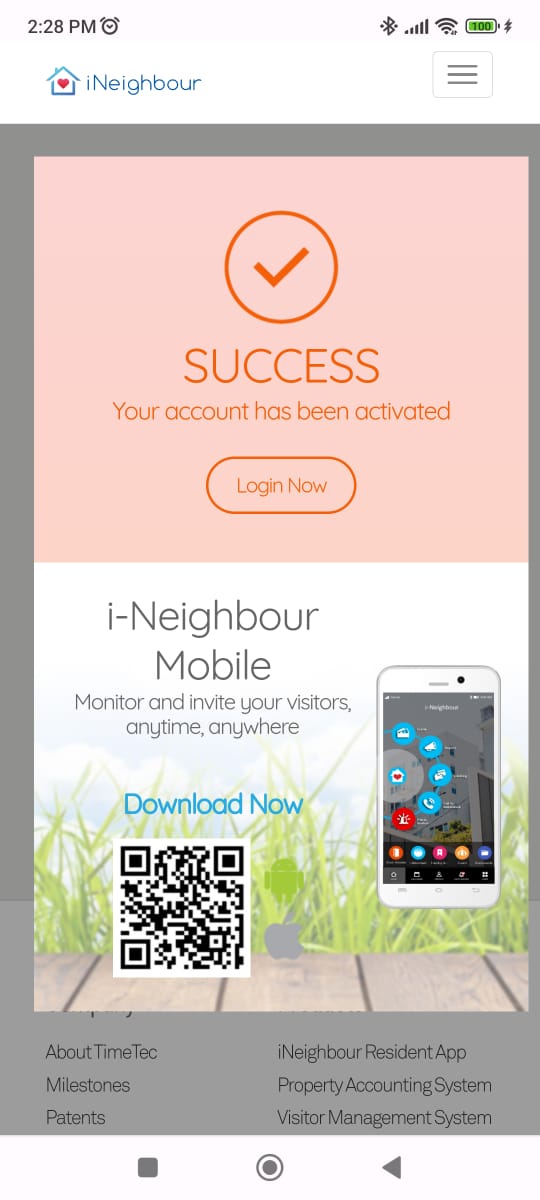
4. A successful message will be prompted with the QR code that appeared at the bottom of the screen for users to use it to download the i-Neighbour App.
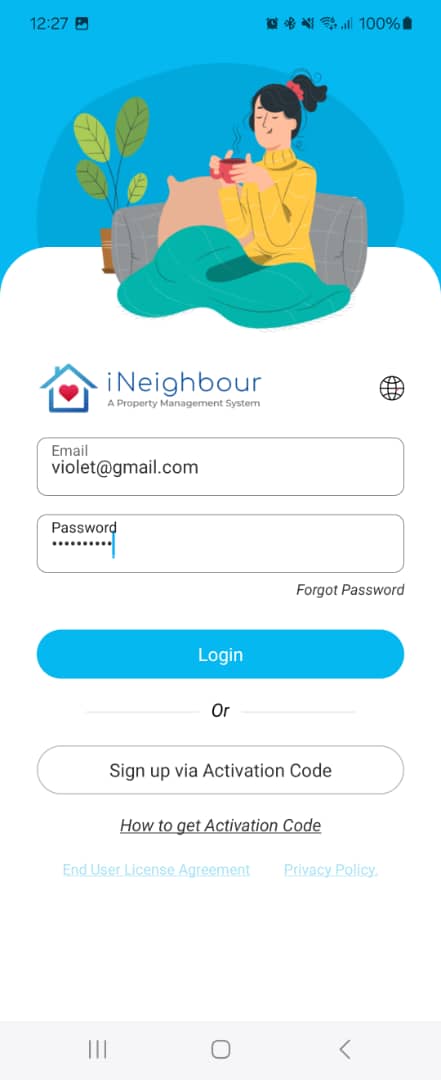
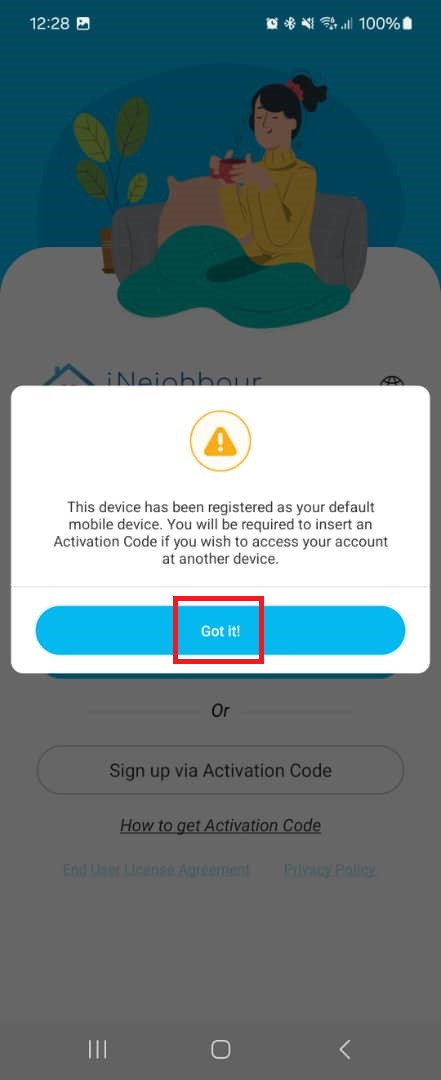
5. Launch the i-Neighbour App and enter the same email address and password that you have registered earlier. Then, tap ‘Login’ and then 'Got it'.
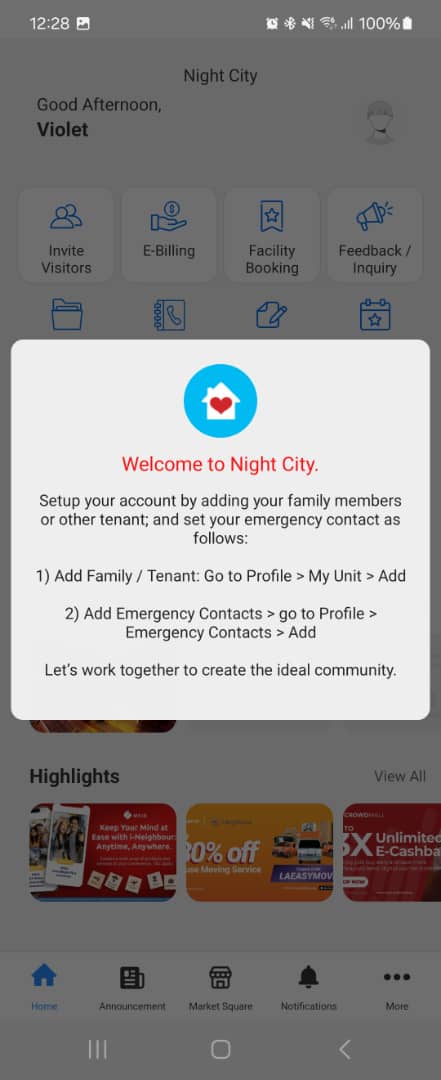
6. Your family members/tenant can start using the i-Neighbour App.
1. Tap on the link in the red box to start activating the account.
2. Enter a valid email address to use it in the i-Neighbour’s account and tap on Next.
3. Fill in the information and create a password. Then, tap on Submit.
Note: Password must contain a minimum of 8 alphanumeric and has at least one capital letter. E.g.: Abc123456.
4. A successful message will be prompted with the QR code that appeared at the bottom of the screen for users to use it to download the i-Neighbour App.
5. Launch the i-Neighbour App and enter the same email address and password that you have registered earlier. Then, tap ‘Login’ and then 'Got it'.
6. Your family members/tenant can start using the i-Neighbour App.
We have prepared a video guide on how to add family members/tenants and how to activate an account in the i-Neighbour App. Please follow the links provided below:
1. Invite Family Members and Tenant
2. How to activate an account
If you are still having problems after completing all of the steps stated above, please contact us via support@i-neighbour.com.
Note: If some of the screenshots or steps viewed here are different from the ones in the current system, this is due to our continuous effort to improve our system from time to time. Please notify us at info@i-neighbour.com, we will update it as soon as possible.
Related Articles
How to Invite Family Members/Tenant and Get Management Approval
This article aims to teach users how to invite family members or tenants and obtain management approval. Steps and Procedures 1. Launch the i-Neighbour App. Click on the links below to download your corresponding i-Neighbour App: a. i-Neighbour in ...How To Invite Tenant Into i-Neighbour Web
In the i-Neighbour Web, management is the supervisor who keeps every owner in residence. Management can add the primary tenant (first tenant) and some other tenants (if he or she leases the house to several people). This document describes the ...How To Invite Residents/Family Members Into i-Neighbour Web
In the i-Neighbour Web, management is the supervisor who keeps every owner in residence. Management can invite owners' family members to use the i-Neighbour application. For example, management can invite people who live in the same unit to use the ...How to download and activate i-Neighbour account (Mobile application)
This article aims to teach users how to activate their i-Neighbiour account with their mobile application. Process 1. Download i-Neighbour mobile application from Google Playstore or Apple App Store. 2. Check your mailbox for the i-Neighbour account ...How Owners Can Generate Statement of Account in i-Neighbour App
1. Log in to the i-Neighbour app as a unit owner. Tap “E-Billing” on the dashboard. 2. On the E-Billing screen, go to the “Statement” tab. At the bottom banner, tap “Generate”. Note: Only users who log in as the unit owner (the designated unit owner ...