How to add Purpose of Visit
This article teaches the user how to utilize Purpose of Visit to help specify the types of visitors for different reporting purposes (i.e. delivery, contractors, drop off pick up, etc.).
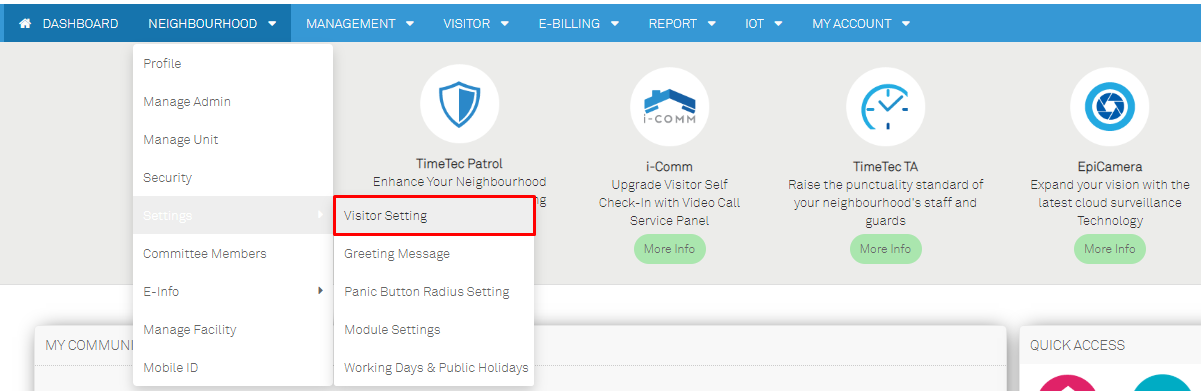
1. Under Community > Setting, click on Visitor Setting
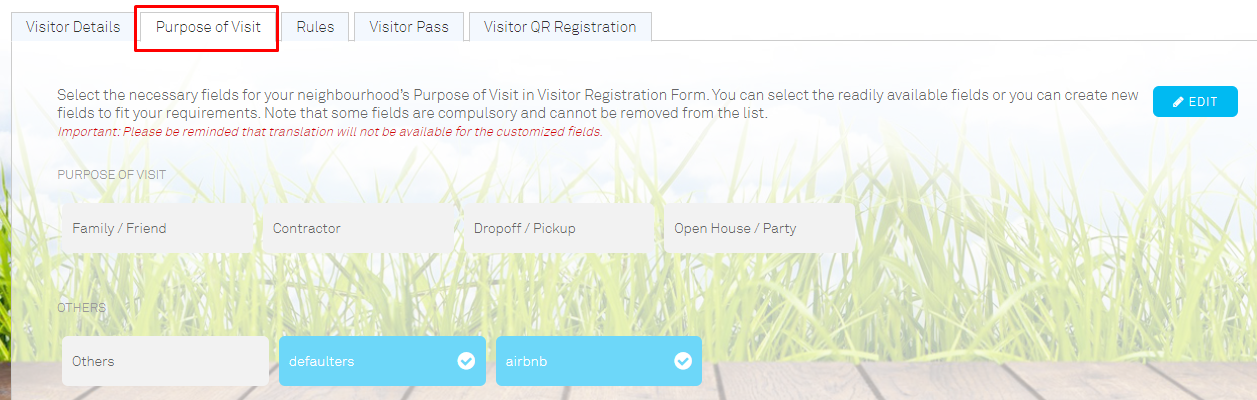
2. Click on Purpose of Visit
Note: The 4 Purpose of Visit type below is set as default and cannot be changed.
To start:
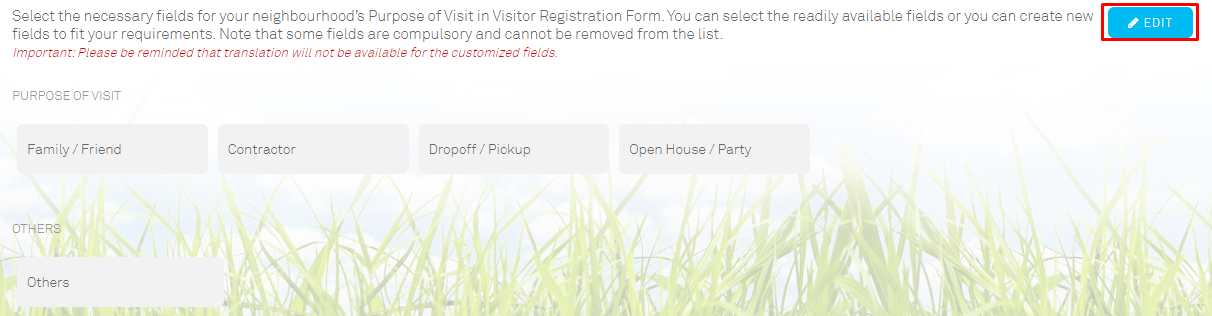
a) Click Edit
b) Click Add Custom Field to include new types of visit at the Others column
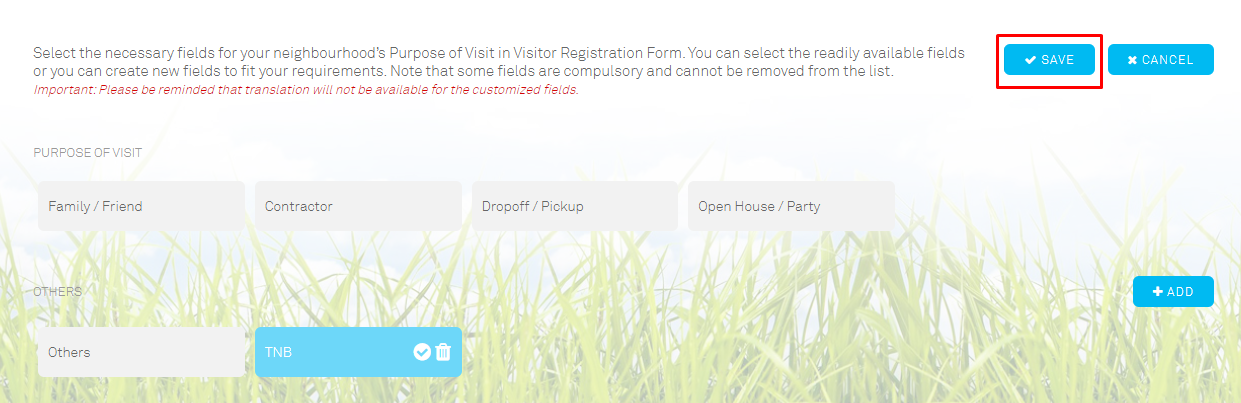
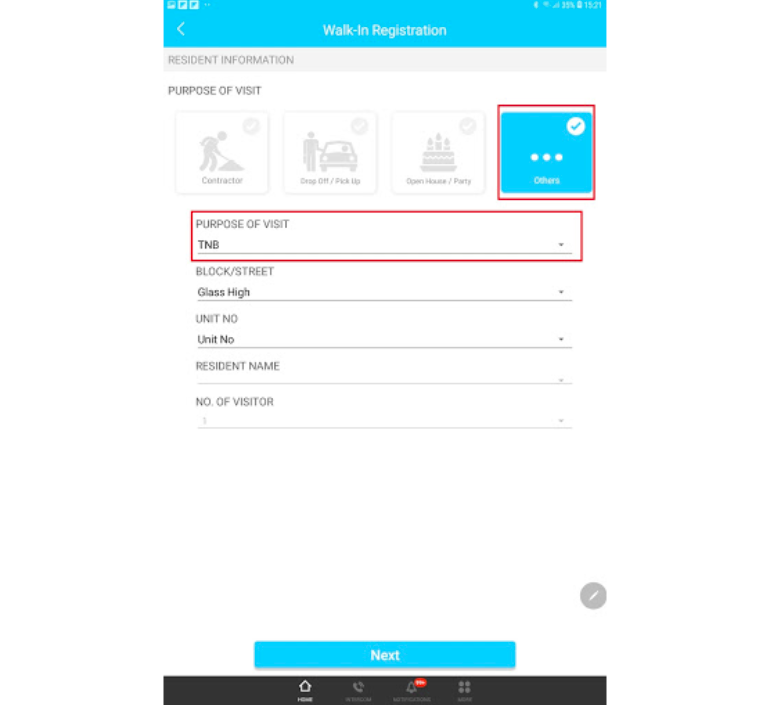
c) Fill in with different purpose of visit you can come up with. For example, TNB. Click on the "tick" to save changes or cancel it by selecting the "X" icon.
d) Once it is done, click the check box to activate the amended changes. Make sure the newly added purpose of visit column has been checked off with a Green Tick.
e) To update, click on the Save button, then click Yes to proceed.
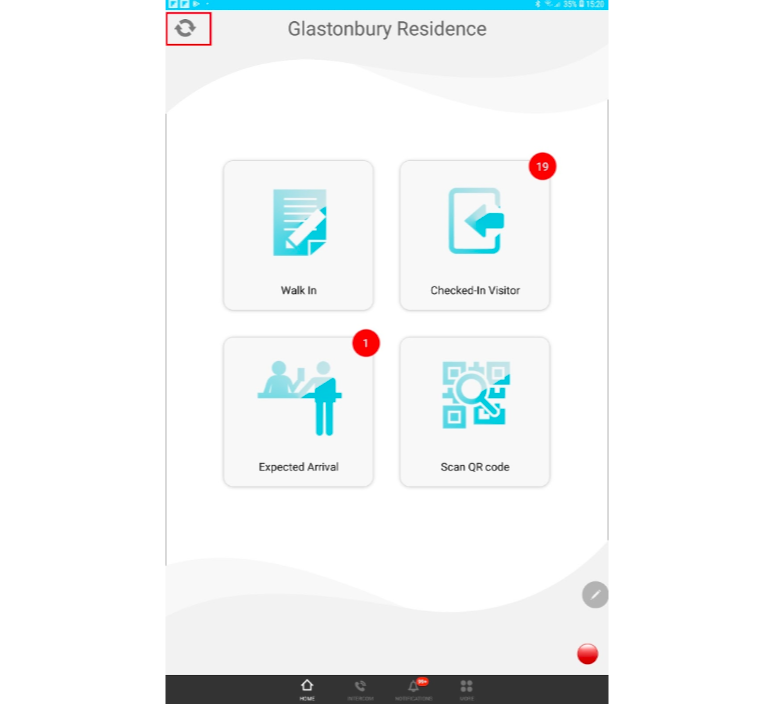
5. The final step is to ensure all changes are synced properly onto the i-Vizit (guard tablet) so that it will all appear for future visitor registration.
a) Click the Synchronize icon located at the top-left of the screen.
If you are still having problems after completing all of the steps stated above, please contact us via support@i-neighbour.com.
Note: If some of the screenshots or steps viewed here are different from the ones in the current system, this is due to our continuous effort to improve our system from time to time. Please notify us at info@i-neighbour.com, we will update it as soon as possible.
Related Articles
How To Add Intercom Number In i-Neighbour App
This article aims to guide users how to add intercom contact numbers for the guardhouse to contact to confirm visitors. 1. Click ‘My Unit’. 2. Click on the pencil icon next to ‘CONTACT NO’. 3. Enter a contact number for an intercom. You can enter it ...How to Add Other Tenant or Debtor for Billing in i-Account
Introduction During i-Account setup, unit owner data is usually imported from i-Neighbour > Community > Manage Unit. The imported owners are created as customers/debtors and can be managed at Accounting > Sales > Maintenance > Customer. For other ...How to Add New Admins
1. Under Community, click on Manage Admin. 2. Click Add 3. Fill in the information and click Save to send out the Activation Link to the chosen email. NOTE: With "Add as Emergency Contact" turned ON, the system will send a notification to the admin ...How to Add New System Roles
1. Under Community, click Manage Admin. 2. Click on System Role, then Add 3. Add a name for the new role and an optional short description, then click on Partial Module to customize. Once done, click on Submit. 4. Click back on Manage Admin and you ...How to Add a New Bank Account
Introduction The steps below explain how to add a new bank account in the system. This process is also applicable during an account handover between a Developer, JMB, or MC, when a new bank account needs to be created and linked for proper financial ...