How To Add/Change Refund Policy in i-Neighbour WEB (Especially for iPay88 users)
For i-Neighbour account that has already integrated with iPay88, a refund policy must be given. The person in charge (Support team) will then be able to assist the i-Neighbour admin to add and enable this refund policy during the first time setup.
Meanwhile, as per agreement with iPay88, it is “COMPULSORY” to enable this refund policy in the i-Neighbour WEB and Mobile Apps at all times. This is to ensure that the policy is applied for the benefits of all parties. However, the admin can still edit this policy if any new changes were to apply.
To Enable and Set Refund policy
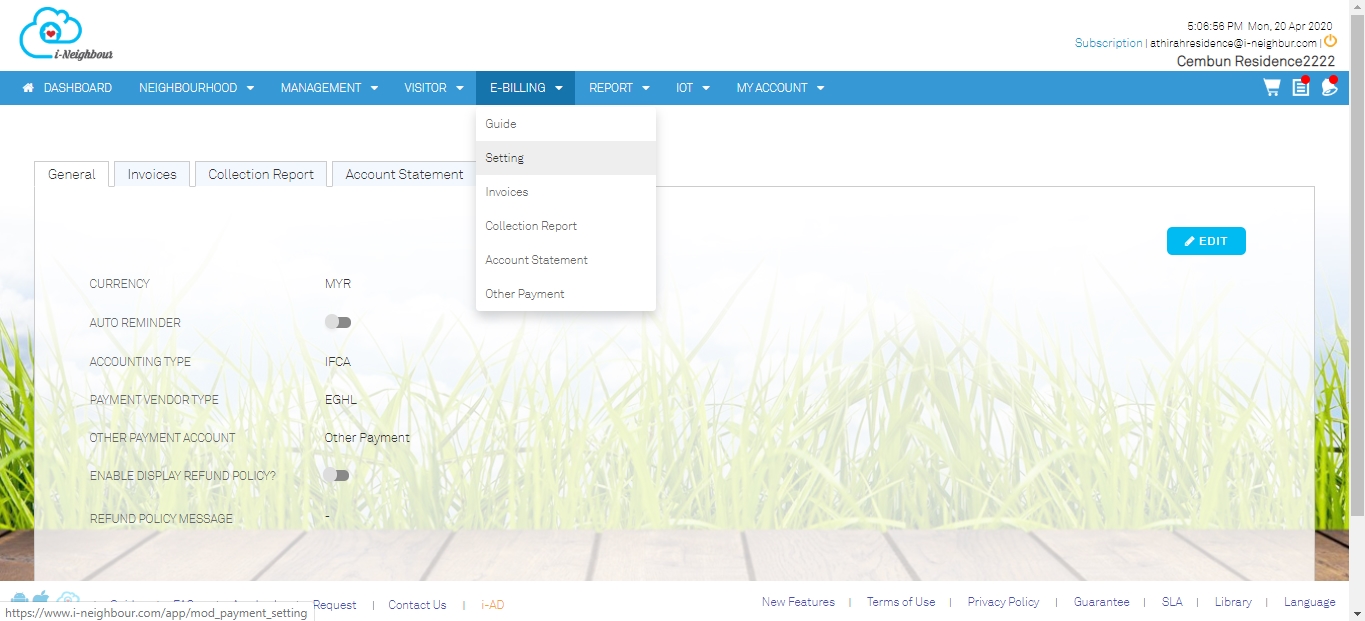
Step 1 - Click E-Billing > Setting > General
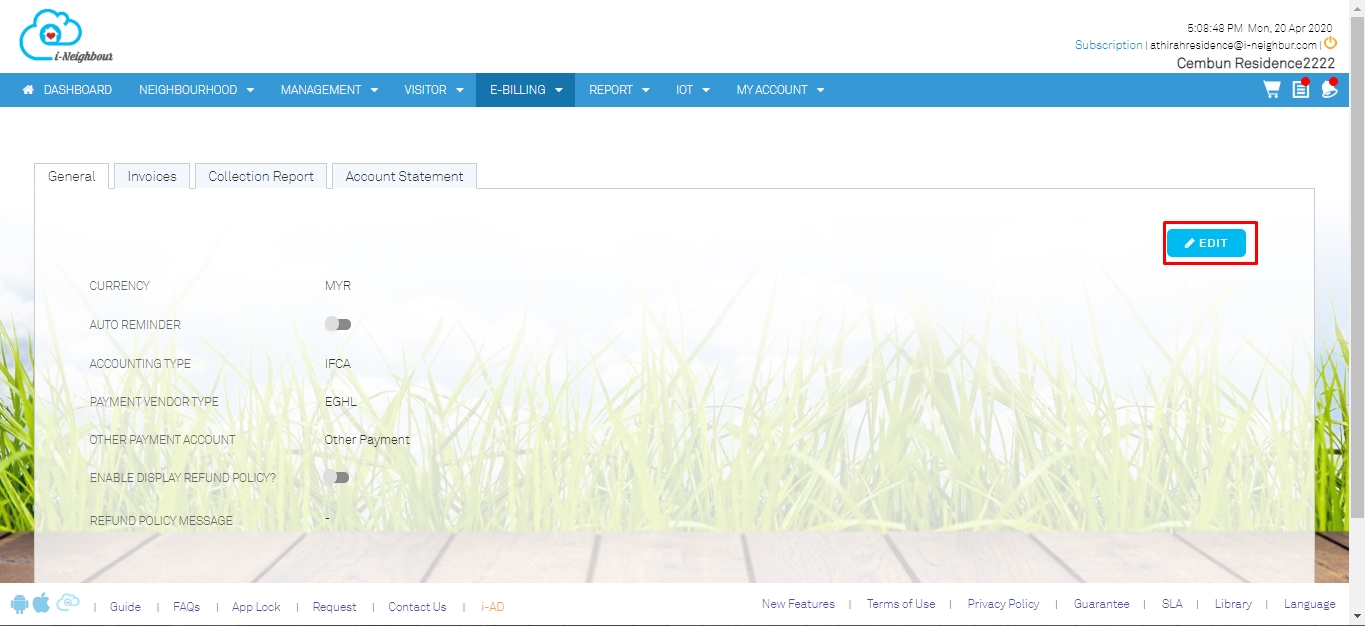
Step 2 - Click Edit to Enable and add policy
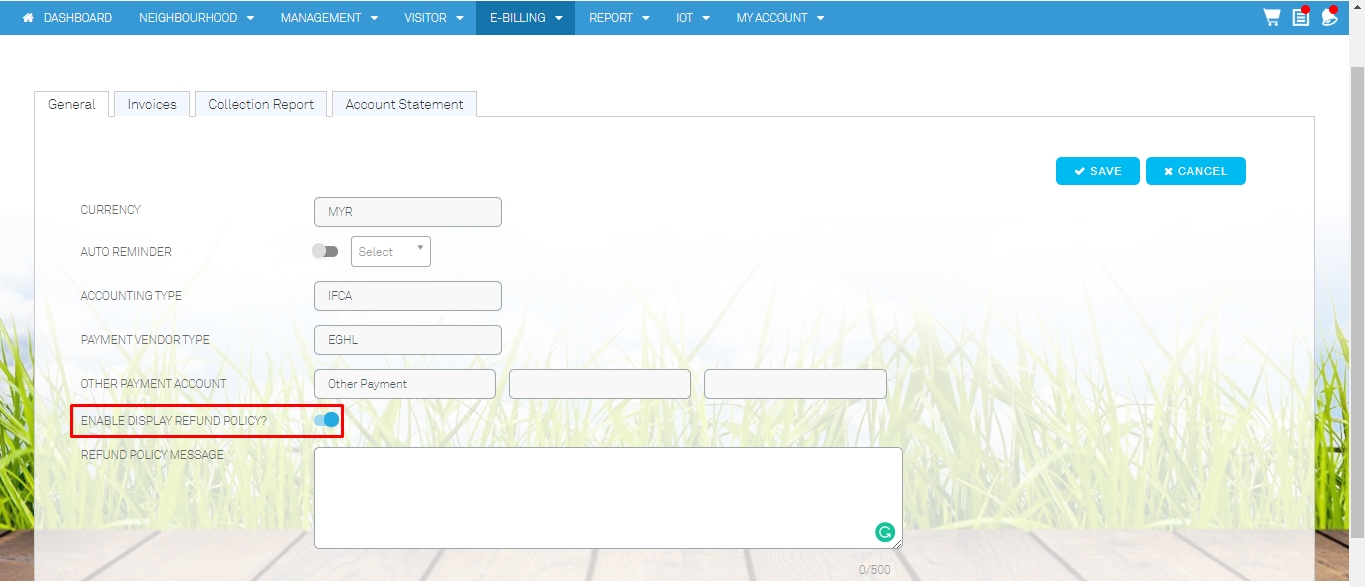
Step 3 - For first time setup, need to enable “Enable display refund policy”
(Please make sure to enable this all the times)
Step 4 - Insert refund policy > Click save
(The policy must not exceed 500 words)
For example:
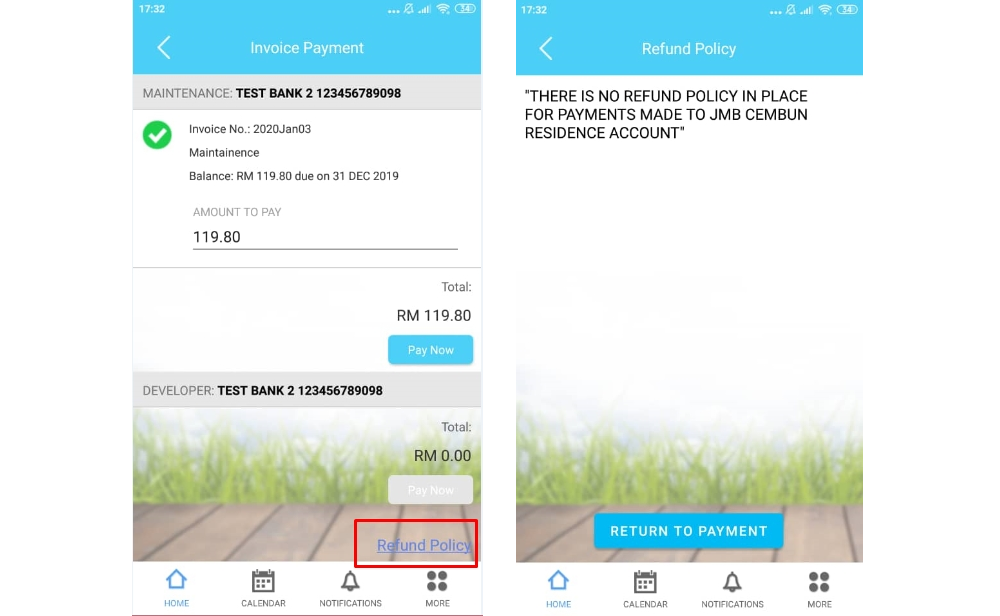
"THERE IS NO REFUND POLICY IN PLACE FOR PAYMENTS MADE TO JMB CEMBUN RESIDENCE ACCOUNT"
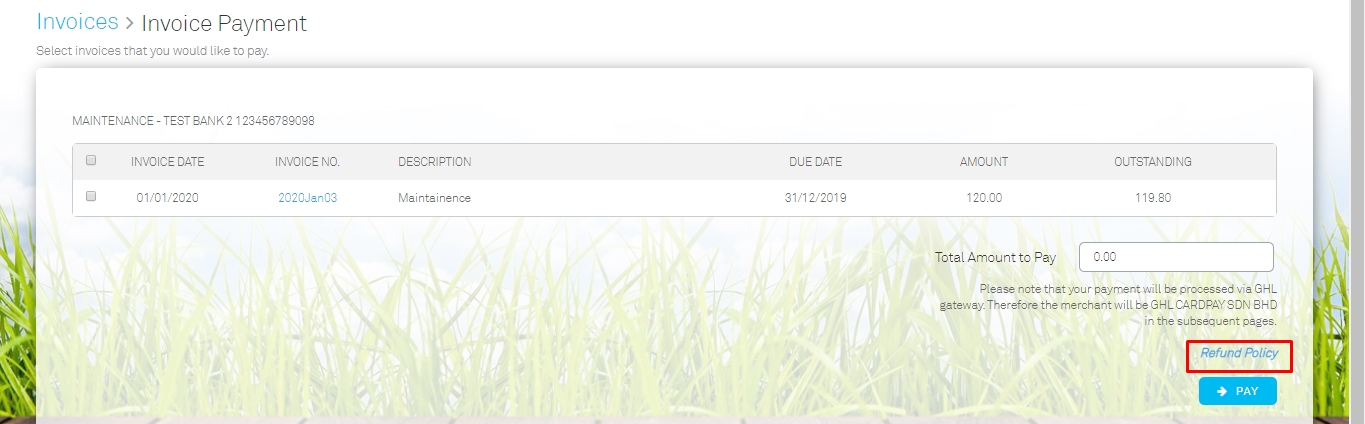
This is a sample view of a residence viewing the refund policy through the i-Neighbour Web
This is a sample view of a residence viewing the refund policy through the i-Neighbour Mobile Application
Note: If some of the screenshots or steps viewed here are different from the ones in the current system, this is due to our continuous effort to improve our system from time to time. Please notify us at info@timeteccloud.com, we will update it as soon as possible.
Related Articles
How To Invite Residents/Family Members Into i-Neighbour Web
In the i-Neighbour Web, management is the supervisor who keeps every owner in residence. Management can invite owners' family members to use the i-Neighbour application. For example, management can invite people who live in the same unit to use the ...How To Invite Tenant Into i-Neighbour Web
In the i-Neighbour Web, management is the supervisor who keeps every owner in residence. Management can add the primary tenant (first tenant) and some other tenants (if he or she leases the house to several people). This document describes the ...How to Add Unit Owner Individually in i-Neighbour
An admin can carry out the steps easily when they need to add in only 1 or 2 units. However, when it involves more than 10 units, we do recommend importing by using the Excel file. This will speed up the process rather than to add in individually. ...How To Add Intercom Number In i-Neighbour App
This article aims to guide users how to add intercom contact numbers for the guardhouse to contact to confirm visitors. 1. Click ‘My Unit’. 2. Click on the pencil icon next to ‘CONTACT NO’. 3. Enter a contact number for an intercom. You can enter it ...How to Reset I-Neighbour Account Password
This article shows users how to change their account password. Process Below are the steps to reset password in Mobile Apps and Web: MOBILE APP 1. Open your i-Neighbour App, press “Forgot” 2. Insert your email address and verification code, then ...