E-Form - How Owner/Resident Submit and Add an Attachment for i-Neighbour
This article teaches users how to use e-forms to submit requests with attachments to management.
1) At the homepage, press the E-Form
2) Press this icon, to select available online forms
3) Click the form name to open the selected form
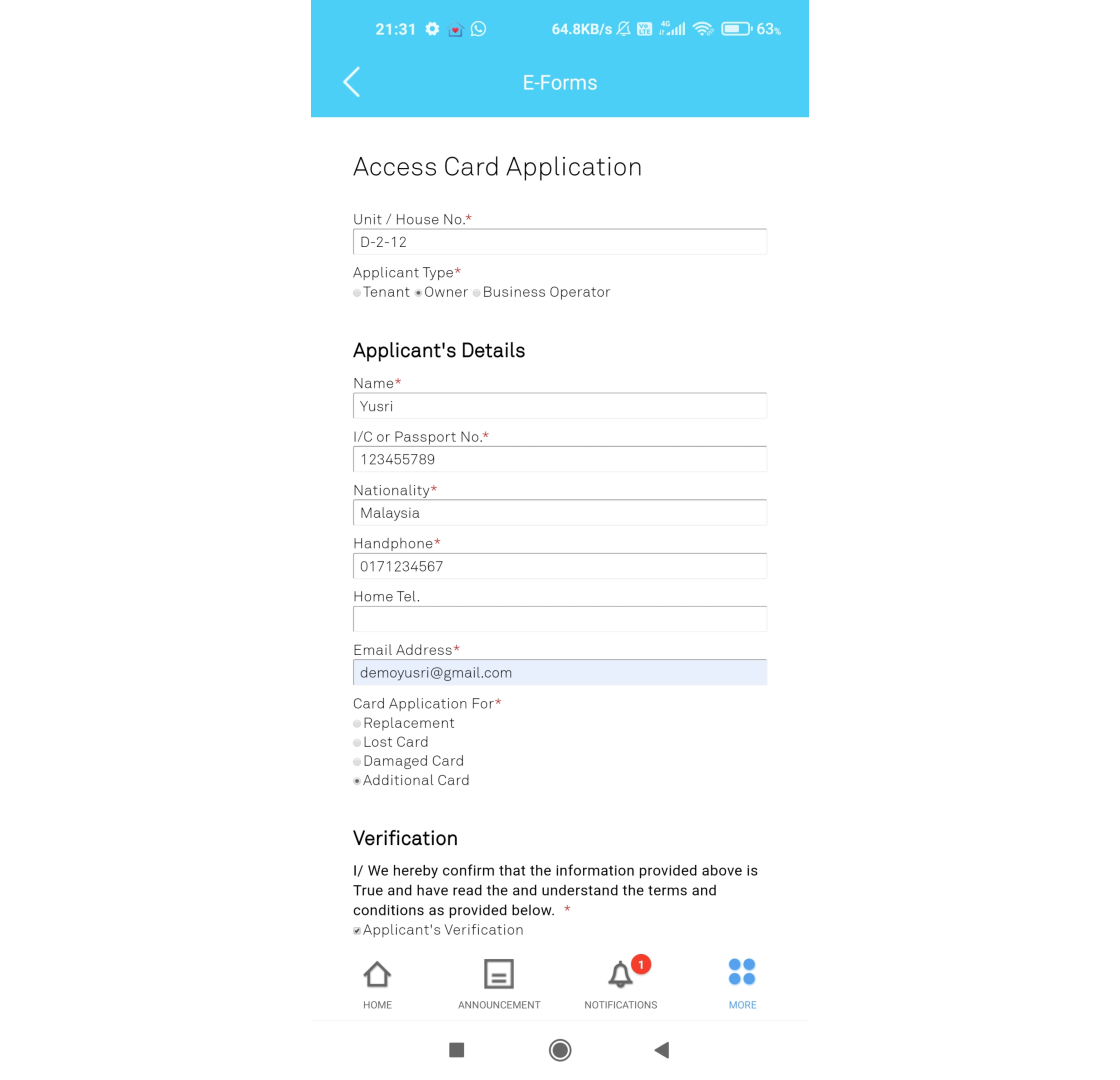
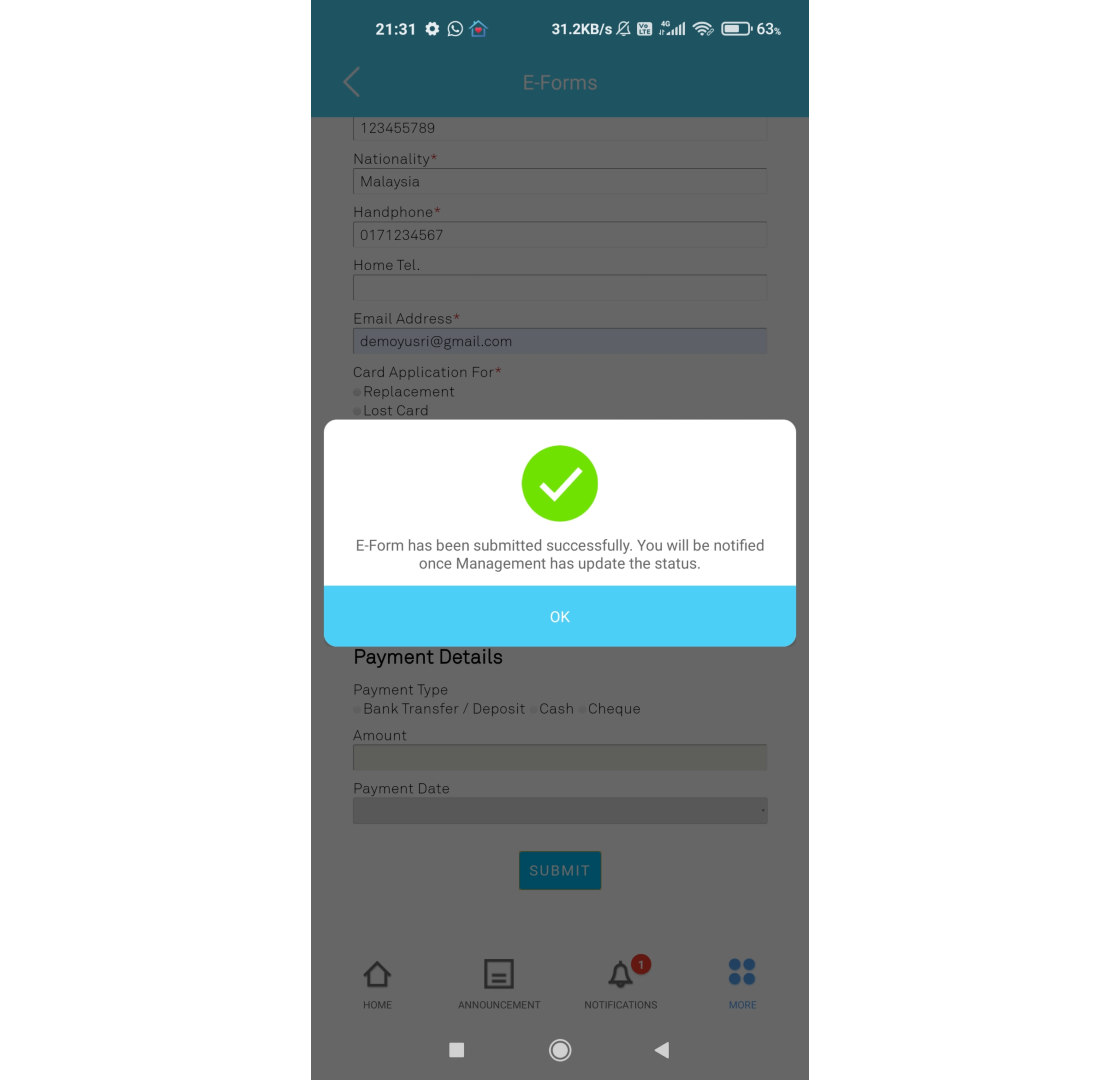
4) Fill in all the details required, then press submit
6) New the submitted form is available in the list.
7) If you want to add attachments such as payment slip, kindly press the submitted form.
9) Press on the "+" button and select an attachment
10) Attachment successfully uploaded
11) Alternatively you may add a progress update, press on “Progress update”
12) Press + icon to add attachment
13) Select files to attach, and put some comment , then press submit.
14) Successfully uploaded an attachment.
If you are still having problems after completing all of the steps stated above, please contact us via support@i-neighbour.com.
Note: If some of the screenshots or steps viewed here are different from the ones in the current system, this is due to our continuous effort to improve our system from time to time. Please notify us at info@i-neighbour.com, we will update it as soon as possible.
Related Articles
E-Invoice - Enable Allow Owner to Submit E-Invoice Details via App
Introduction i-Neighbour has a feature that support user request for e-Invoice via the i-Neighbour app. There is an optional setting that needs to be enabled at E-Billing Settings. Setup in i-Neighbour E-Billing Setting - Enable 'Allow Owner to ...E-Invoice – How to Issue & Submit Individual E-Invoice
Introduction i-Account’s e-Invoice module enables e-Invoice submission through direct LHDN API integration. Once enabled, you can assign TimeTec as an intermediary to handle the submission of e-Invoices to LHDN on behalf of the entity. Important ...How to Add Unit Owner Individually in i-Neighbour
An admin can carry out the steps easily when they need to add in only 1 or 2 units. However, when it involves more than 10 units, we do recommend importing by using the Excel file. This will speed up the process rather than to add in individually. ...E-Invoice Setup
Introduction i-Account’s e-Invoice module enables e-Invoice submission through direct LHDN API integration. Once enabled, you can assign TimeTec as an intermediary to handle the submission of e-Invoices to LHDN on behalf of the entity. You need to ...How to create E-Polling in i-Neighbour
This article will teach users how to use the E-Polling feature to generate a polling session to get an agreement and consensus from residents (if necessary). 1. Under Management, click on E-Polling 2. Click “Create Poll”. 3. Fill up the details to ...