Clocking Status Options Setup For Face ID X & Face ID 2
Introduction
Process
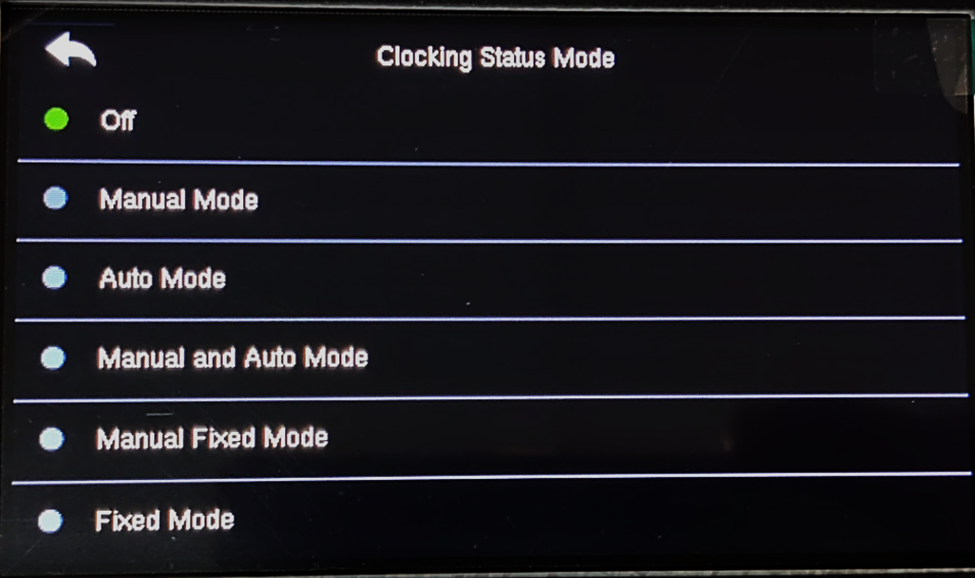
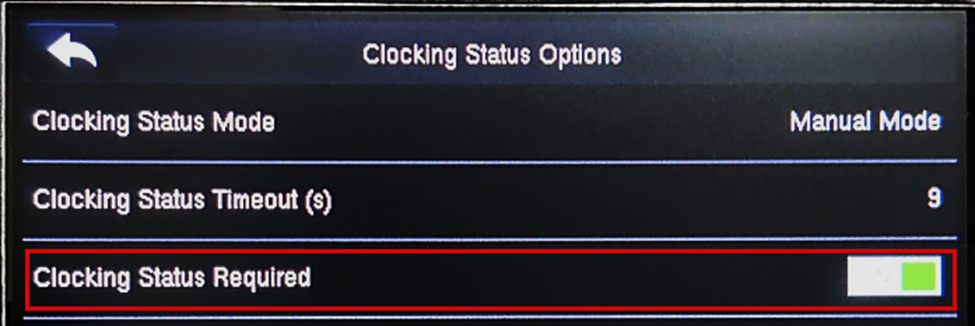
First, go to MENU > Personalize > Clocking Status Options – Clocking Status Mode.
Select the type of clocking method preferred for your working environment. The clocking status modes are explained below.
OFF Mode
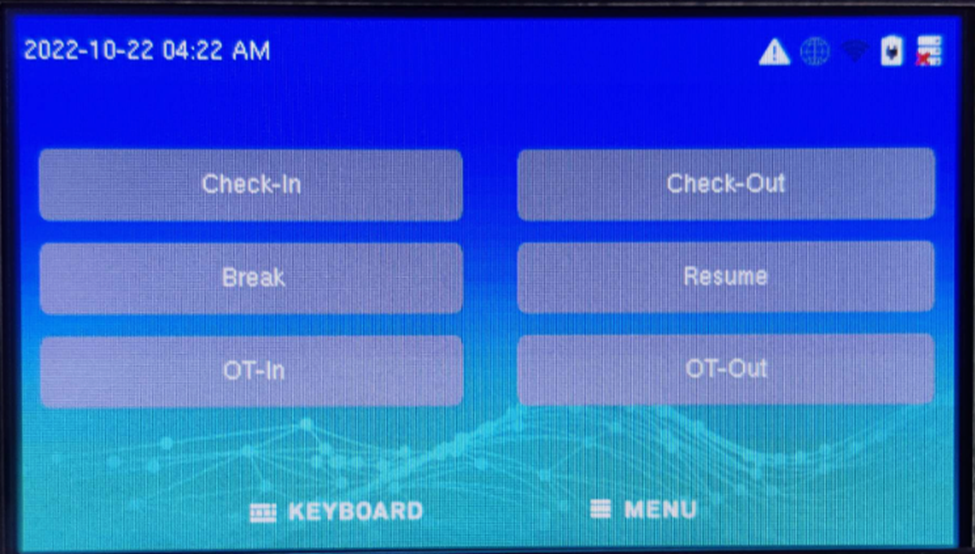
- When you select off mode, no clocking options will appear at the home screen.
Manual Mode
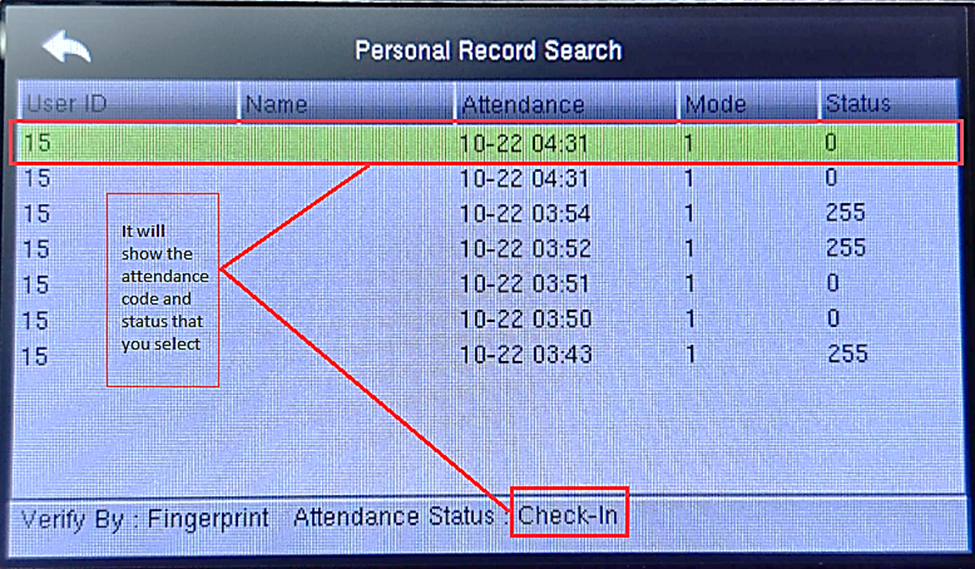
- On Manual mode, the user will need to select the clocking option before verifying
- If no clocking option is selected, the attendance will not capture the clocking status. Instead, the clocking status will be recorded as 255.


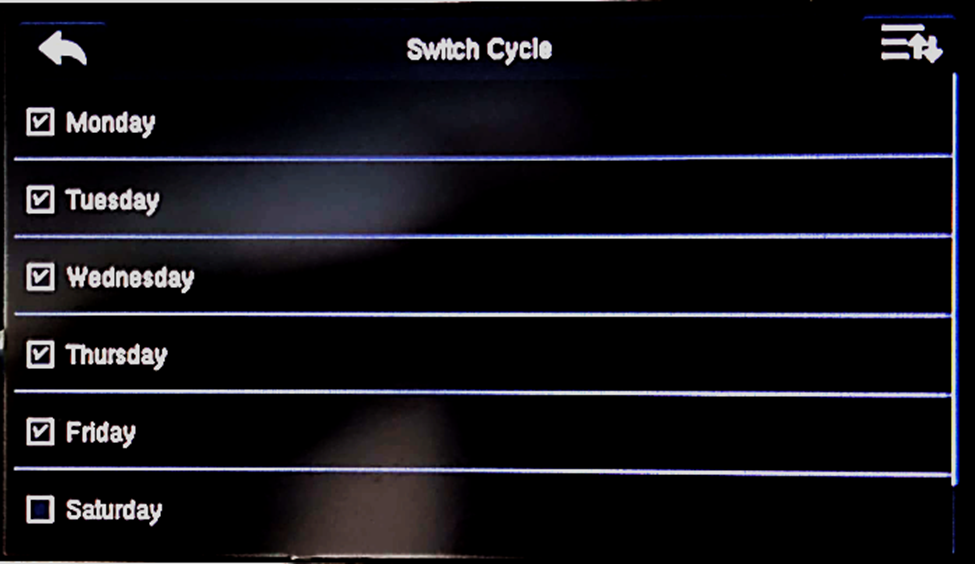
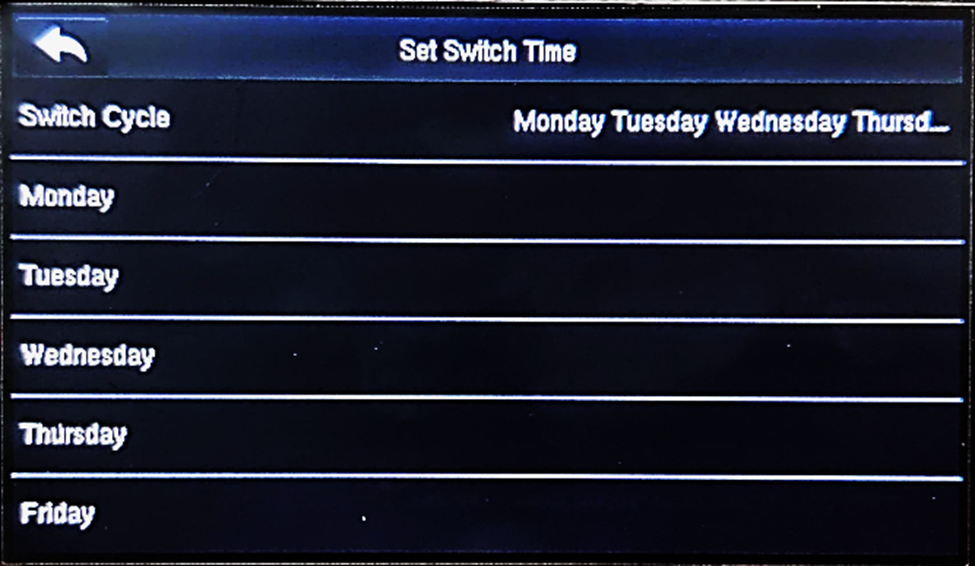
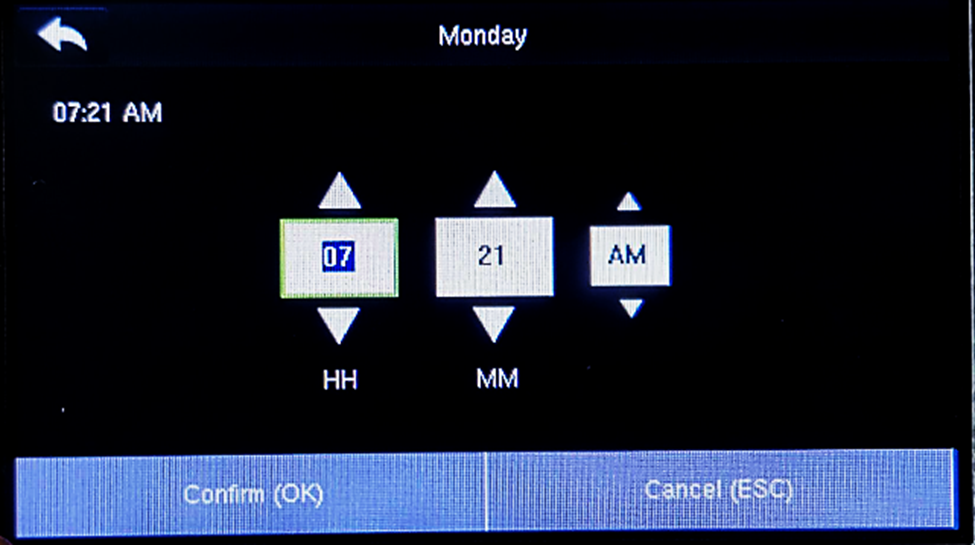
By using this mode, users don’t need to select the clocking status, however you will need to set up the schedule to determine the working time range.
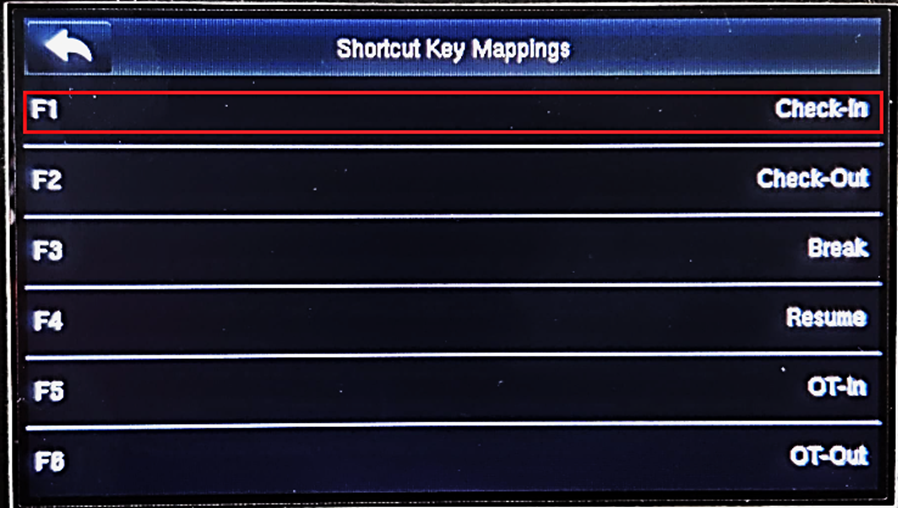
Go to MENU > Personalize > Shortcut Key Mappings
Select the attendance status that you want to enable, for example: ‘Check In’
· Manual and Auto Mode
This mode is the combination between the Manual mode and Auto mode, where users can either choose to select the attendance status or to follow the existing setup on the device.
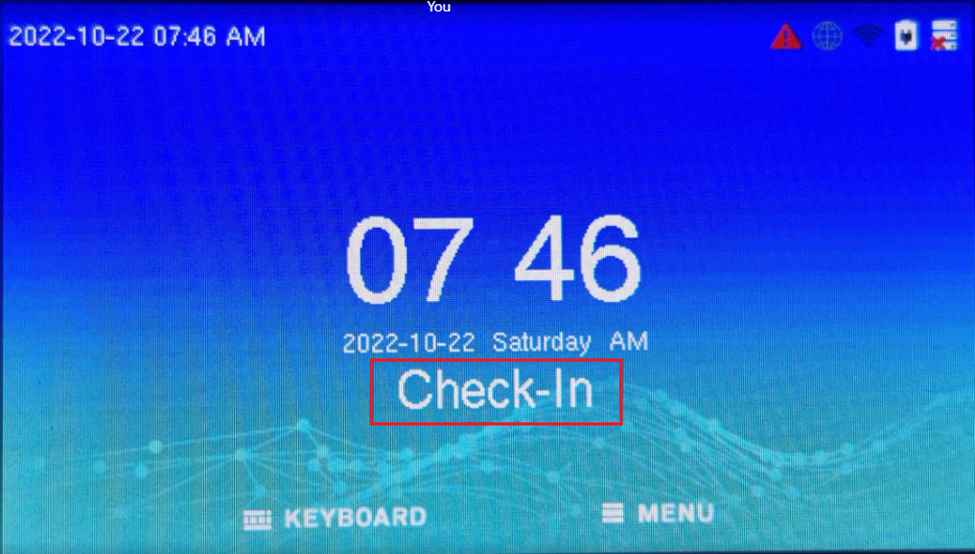
Fixed mode
- Once you have set the selected attendance status, it cannot change to another attendance status.

Manual Fixed Mode
- This mode is similar to the Fixed mode, however the clocking status can be changed by tapping the screen at Home Screen.
Related Articles
Pairing R3c with Face ID X
Introduction Master-slave is a model communication or process to controls one or more other devices that serve as their communication hub. One device will act as te Master control and other devices will automatically label as the slave terminal(s). ...Face ID 2 and Face ID X WIFI Customization
Introduction WiFi connectivity is widely used today to connect users with the latest technology and updates. It provides greater mobility, allowing users to connect to a network or the Internet while moving freely within the space. For organizations ...Face ID 5 – Face ID 5 Master – Slave Connection with Anti-Passback Setup
Introduction In previous technical tips, we have guided you on how to set it up and we also provide a wiring diagram for the Face ID 5 – Face ID 5 (master-master) connection. Now, we show you how to set up Face ID 5 – Face ID 5 (master–slave) ...Face ID 5 External Bell Schedules
Introduction For big companies or manufacturing that have large premises and noisy environments, they require a Public Address system that can deliver loud sound to indicate the transition of shift or break time to the employees. Taking this factor ...Wiring Installation for Face Id X & Face Id 2 (In/Out) Without Using Adaptec Plus
INTRODUCTION The combination of Face ID X and Face ID 2 can be used together without Adaptec Plus. There are differences in wiring configuration if clients use Adaptec Plus as the power supply and door access controller, compared to using only Face ...