Change of Leave Policy Configuration in TimeTec Leave
Introduction
Every now and then, company leave policy would change. Due to the changes, the initial configuration of the leave policy will need to be revised and updated. For example, the previously configured 60 days of Maternity Leave to be updated to 98 days and thus required amendment to the leave policy settings and user leave balance. This article will guide through the process required to update the changes.
Process
A: Changing Allowance in Leave Policy
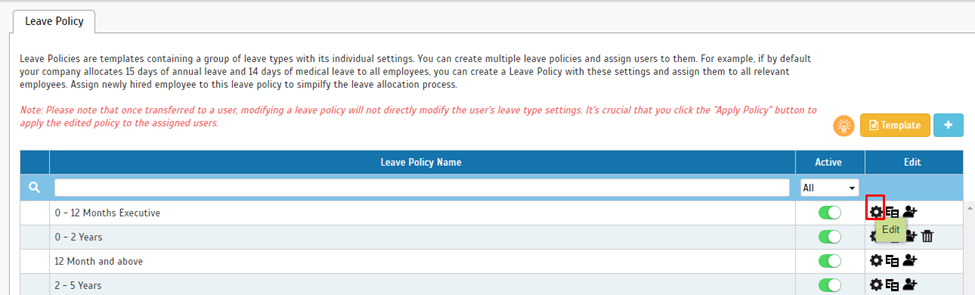
1. In TimeTec Leave, login as admin role, go to Leave Settings > Leave Policy

2. Click on the Edit button (Gear icon) to edit the policy settings.
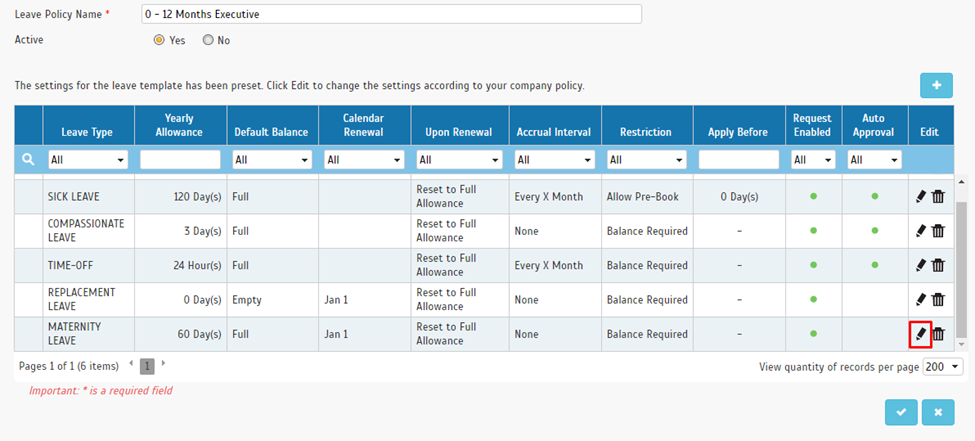
3. Locate the leave type to edit, click on the Edit button (Pencil icon).
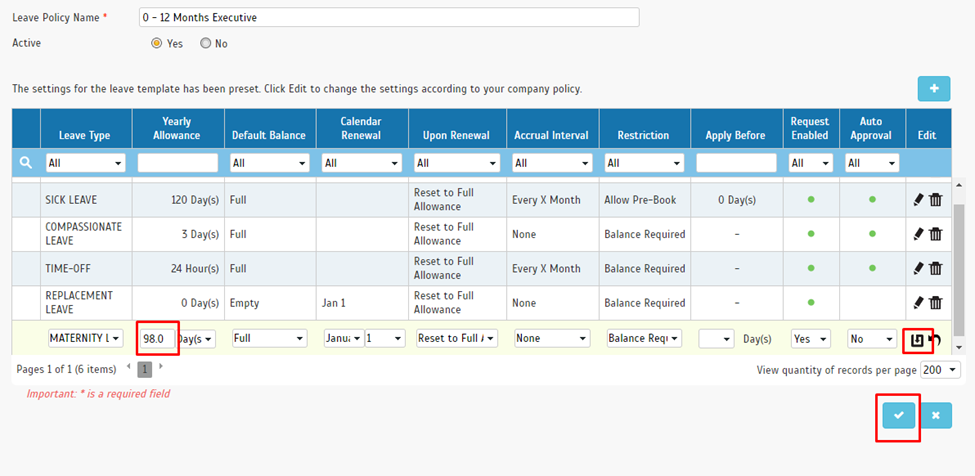
4. Amend the yearly allowance amount, then click on the Update button on the right. Once updated, click on the Submit button.
5. Re-assign all users within the policy into the same policy. You may copy the policy name and paste into the search box under the Leave Policy Name. Once the user list has been updated, displaying users from the filtered policy, you may tick to select all users, then Submit.
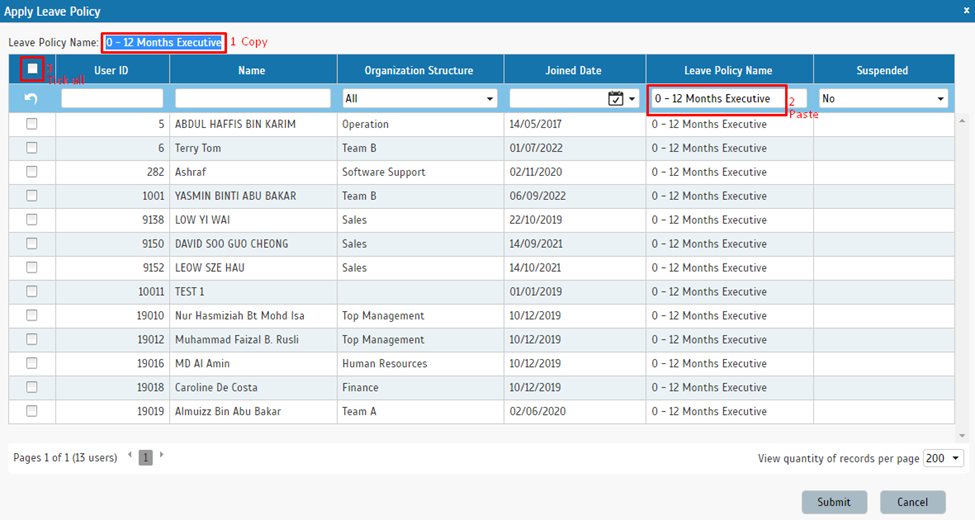
6. Please note, the changes in the Leave Policy setting will only apply to the new users. For existing users, updating the policy setting will NOT update the current leave balance. You will need to Import leave balance to update the policy setting for existing users.
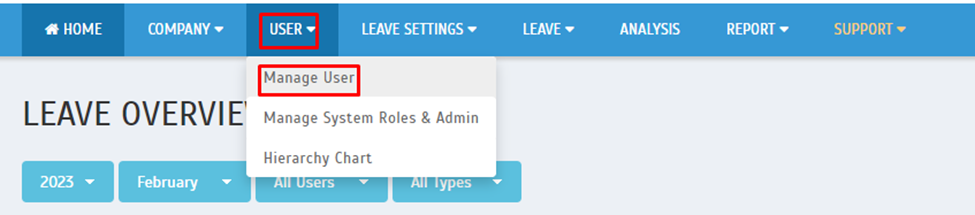
1. Once the leave policy has been updated, the import leave balance process is required to update the users balance accordingly. Go to User > Manage User
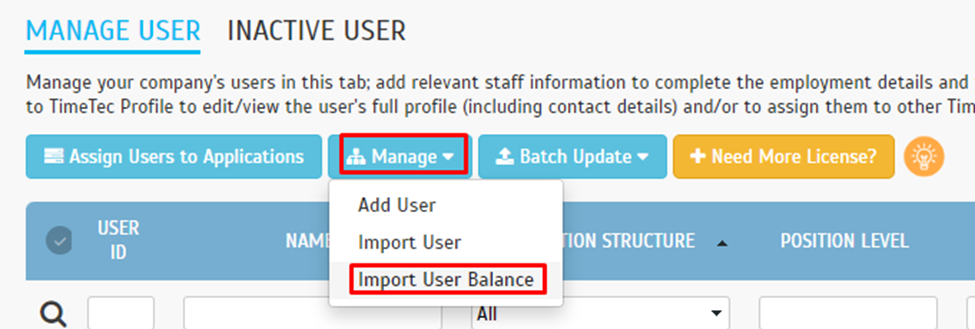
2. Click on Manage > Import User Balance
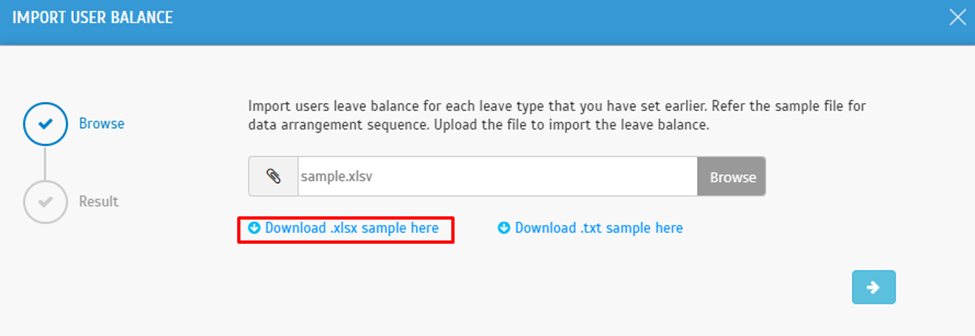
3. Download the Import Balance template file.
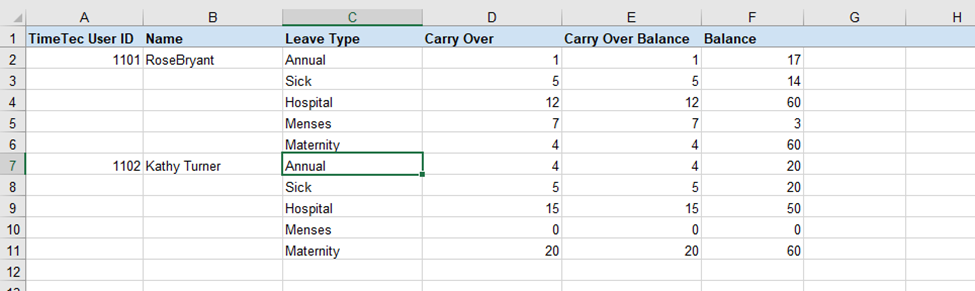
4. Insert User ID, Name and Leave Type accordingly. Please ensure that the data must exactly be the same with the data from TimeTec (e.g. must be the same User ID, spelling of the name and leave type must be exact (word-to-word) as the one set in TimeTec). Insert Carry Over, Carry Over Balance and Balance amount. Once done, save the file.
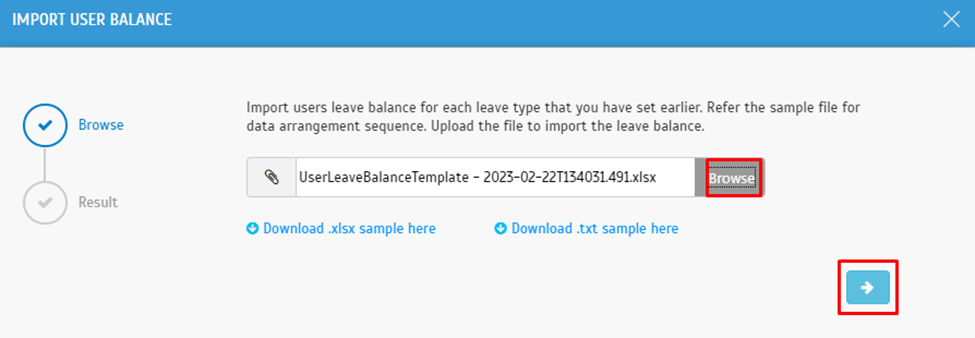
5. Return to the Import User Balance page, browse to locate the file and select.
6. Success message will appear showing user balance has been imported once done.
Note: If some of the screenshots or steps viewed here are different from the ones in the current system, this is due to our continuous effort to improve our system from time to time. Please notify us at info@timeteccloud.com, we will update it as soon as possible.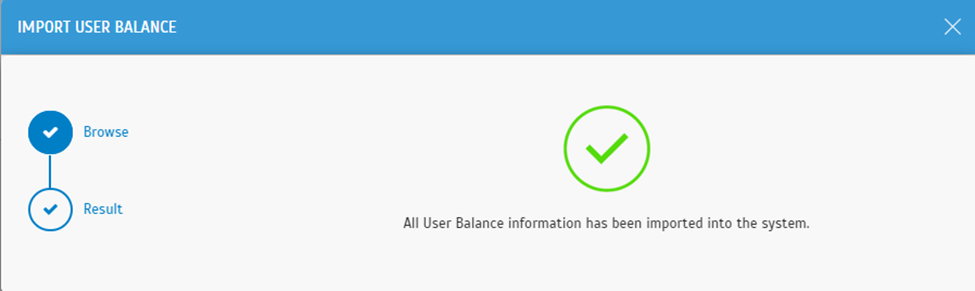
Related Articles
TimeTec Leave - How to Configure Accrual Interval in Leave Policy to Allow Monthly Earned Leave Balance
Introduction Some company regulations provide a prorated leave balance from the full yearly entitlement based on staff’s joining date, while others practice prorated calculation earned monthly. However, the monthly earned leave is usually calculated ...TimeTec Leave - How to Change the Leave Type of Leave Records by Cancelling the Approved Leave and Import Leave Taken
Introduction When applying for leave in TimeTec Leave, users will need to select the Leave Type (e.g. Annual Leave, Medical Leave) before being able to submit the request. However, there are situations where users are not entitled to a particular ...Option to Reset User’s Leave Balance in Timetec Leave
Introduction Resetting a user’s leave balance can come in handy when there is an issue pertaining to a user’s leave balance. For instance, it can be a mess when the admin has imported an incorrect leave balance or has manually edited an incorrect ...How to Set Service Accrual in TimeTec Leave
Introduction The Length of Service Accruals are used to automatically increase your user's allowance or re-assign users into a different policy group once they have reached a certain number of months/years of service within your company. For example, ...Using Prorated Leave Balance Rounding by Days into Leave Policy Setup
Introduction Prorated balance is a feature available in both leave policies and length of service accruals, where the number of leave days is divided based on service duration. Go to Leave Settings > Prorated Leave Balance > Click on the “Add” ...